Nikon Network: Infrastructure
First of all, you must make sure that the Nikon WiFi connection is enabled in FoCal (under Help > Settings):
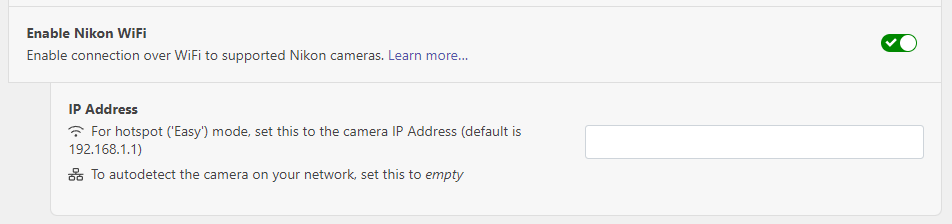
For Infrastructure mode, make sure the IP Address textbox is empty.
On the camera, head to the Network Menu (or Setup menu on some cameras):
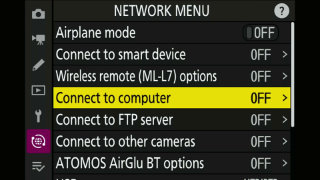
Choose Connect to Computer then Network Settings:

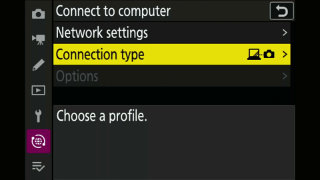
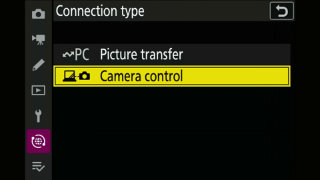
Make sure the Connection type is set to Camera Control – you can adjust or confirm this by clicking on the Connection type option:
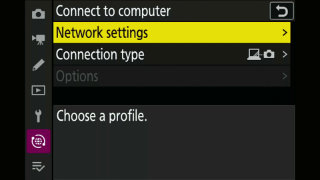
Back up one menu level, choose Network settings
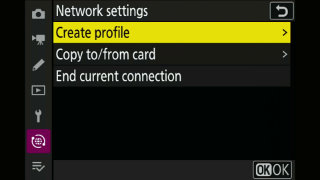
Then Create profile:
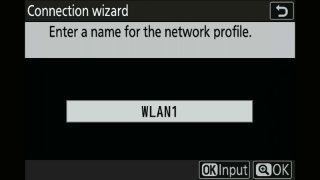
You can choose a name for the profile, or leave it at the default (WLAN1 in this case) by choosing OK:
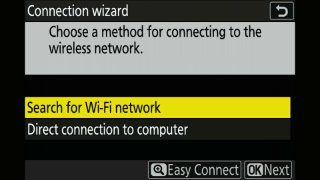
Choose Search for Wi-Fi network:
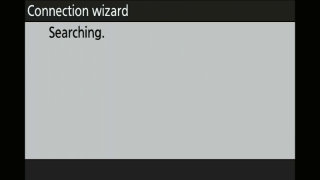
The camera will search for networks:
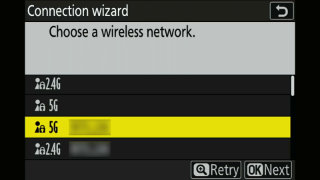
Choose your home or office network from the list:
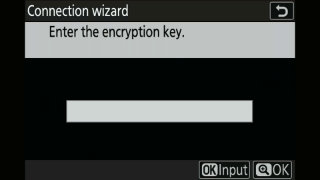
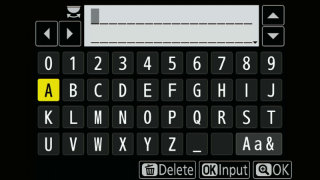
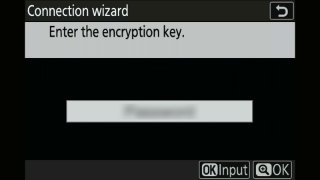
Enter the WiFi network key using the keyboard on the screen
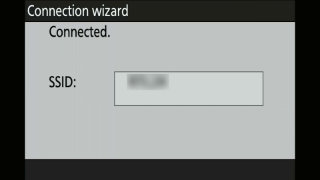
Choose OK to see the following screen, then choose OK again to connect:
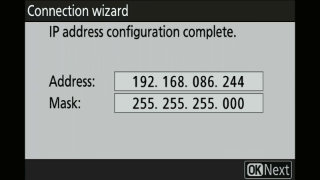
You will typically obtain your IP address automatically, so choose this option and click OK:

After a few seconds, the IP address assigned will be shown. Just click OK on this screen:
The following screen means the camera is ready to connect.
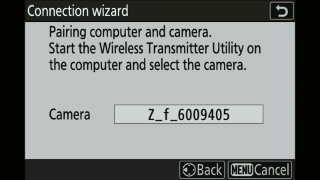
At this point ensure that FoCal is running and the Nikon WiFi option is enabled with no IP address (see the very top of this page for details).
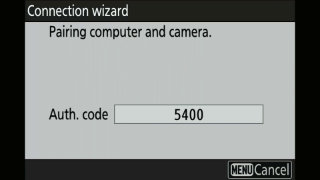
A pairing process will automatically complete – you will see an Auth code shown on the screen for a moment but you can ignore this.
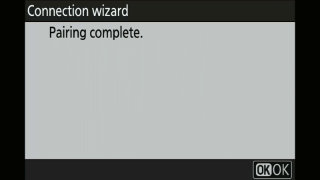
The following screen means that the process is now complete. Click OK to finish.
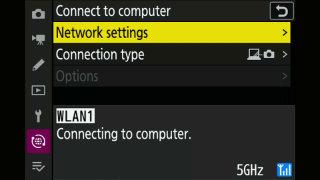
The camera will show the following screen. The bottom section shows that the camera is connected to the WiFi network (this is shown by the 5GHz and blue icon at the bottom right). But it is waiting for a connection to FoCal.
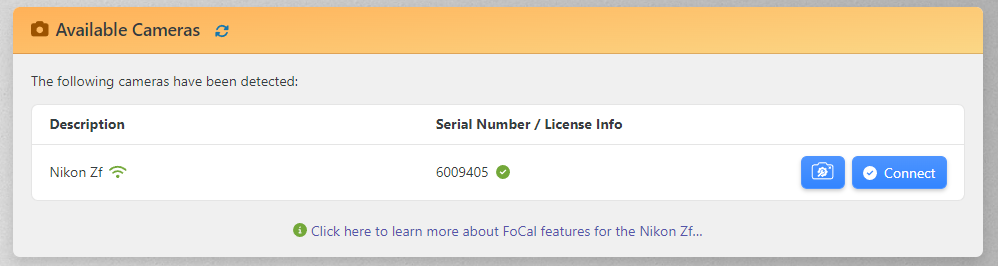
If FoCal is running, after a few seconds you should see the camera appear in the list, and the bottom half of the screen on the camera will change as shown:

Reconnecting
Once all the setup above is done, in order to reconnect, you simply have to start FoCal and switch on the camera. After a short time (typically less than 30 seconds), the camera will show in the camera list in FoCal.