FoCal User Interface Overview
Here’s an overview of some key features of the FoCal’s User Interface.
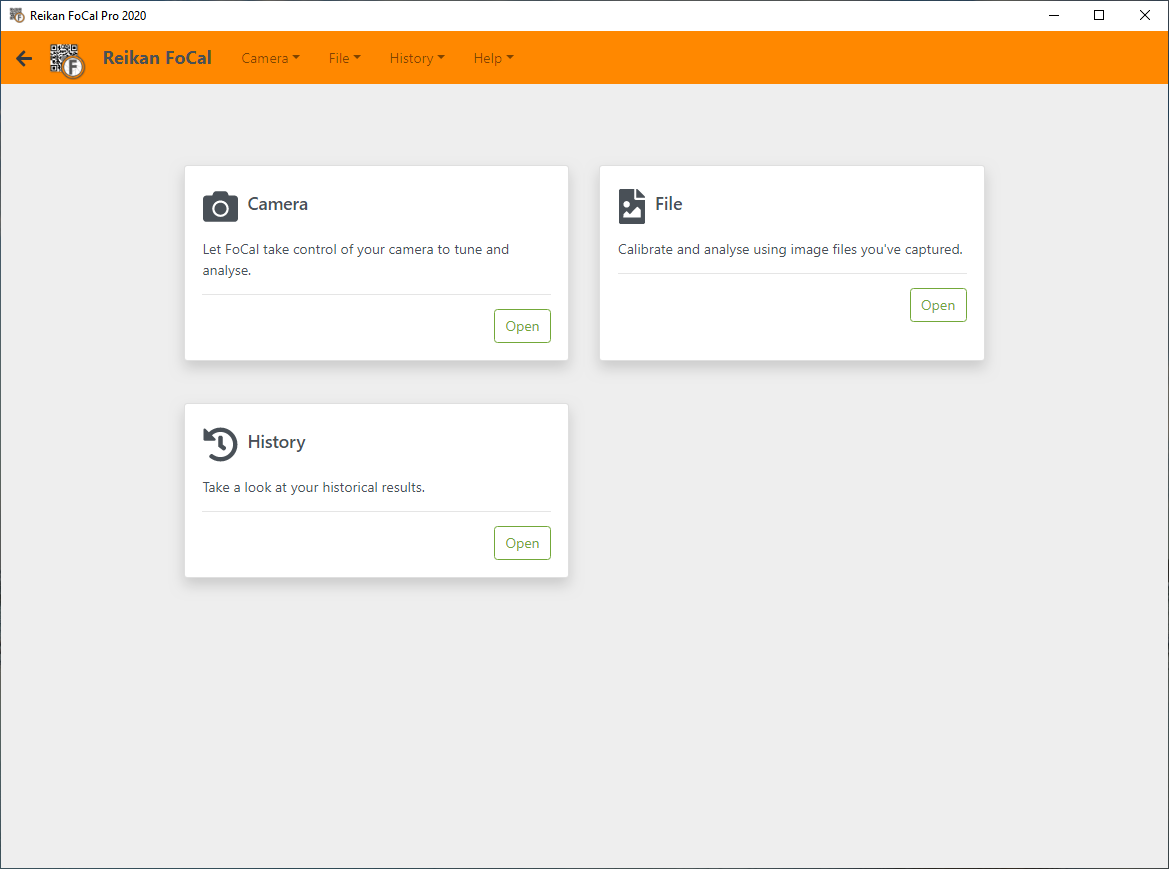
The Home Page
When FoCal first starts, you’ll be shown the Home page:
The Nav Bar
The orange Nav Bar is present at the top of all pages, and you can use it to get around.

- The black arrow on the far left is like the back button of a browser – it will return you to the last page you were on.
- The FoCal icon will return you to the Home page.
- The Page Title will show you the page you’re currently on. It will also show you the mode for test pages (e.g. Camera Mode, File Mode, History).
- The Menus operate like standard menus – click to open and then select an option.
When a camera is connected to FoCal, the camera and lens information will be shown on the top right of the Nav Bar:

Clicking the camera/lens information or the black camera icon will take you to the Camera page (see below),
When a measurement shot is in progress (i.e. one that will be analysed and count towards the results), a red warning icon is shown for the time the shot is in progress (so you know not to block the lens):

The Camera Page
The Camera page introduces a few new elements:
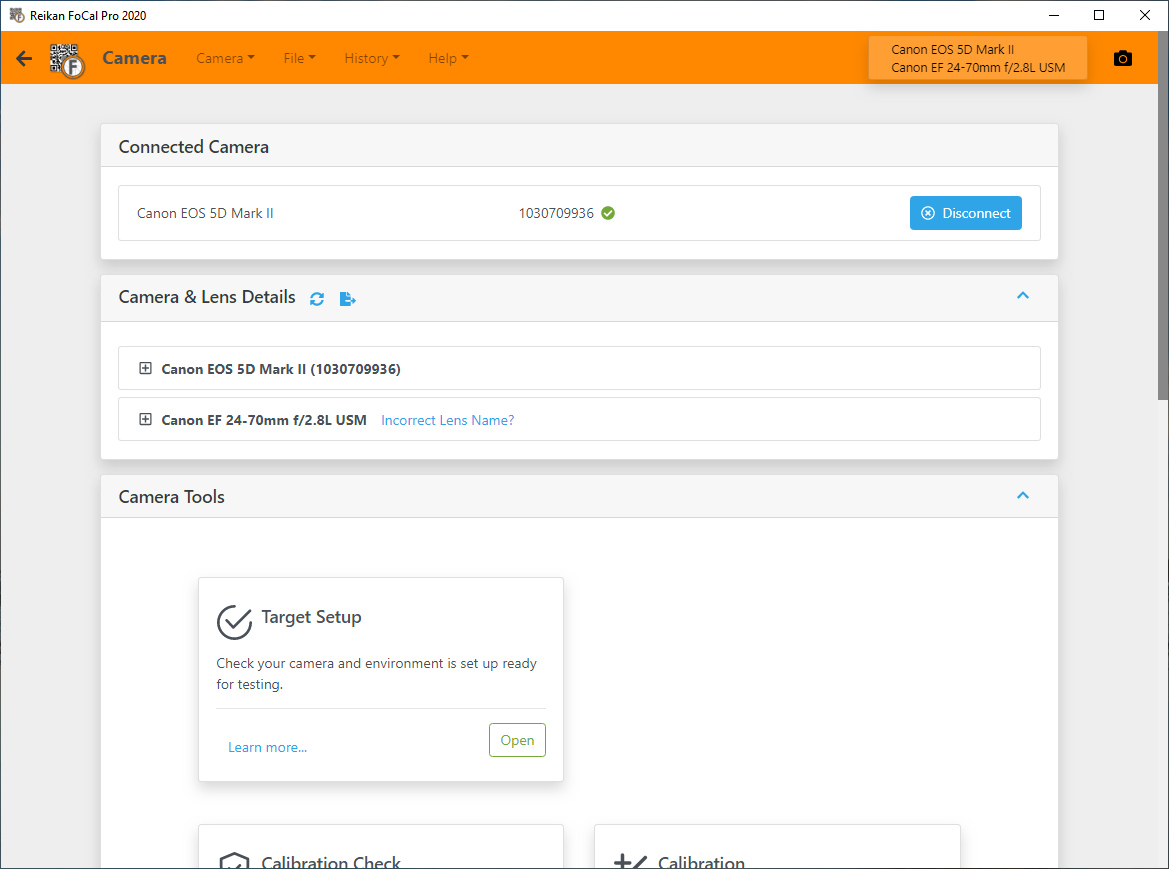
First, the page is organised into Panels. These panels feature throughout the FoCal user interface, and there’s a few common features:

The small blue arrow on the right side of some panels allows you to collapse or expand the panel.
The panel above shows a Refresh button, and a button for saving a report. Action buttons like these will be shown in blue on the title bar of panels.
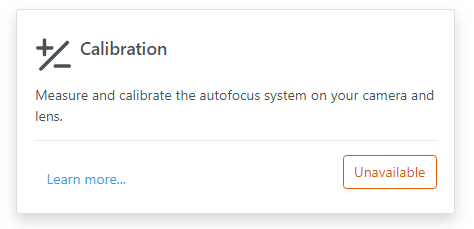
At the bottom of the camera page are a number of Cards:
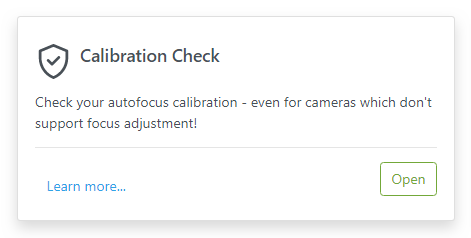
These cards represent an option – a tool or test, or access to another feature.
The Learn More link will show you more information about the option, and the Open button will access the feature. If the button shows Unavailable, you can still click and will be told the reason as to why the option is unavailable:
Test Pages
With the exception of Target Setup, the pages for each test are laid out in a very similar way.
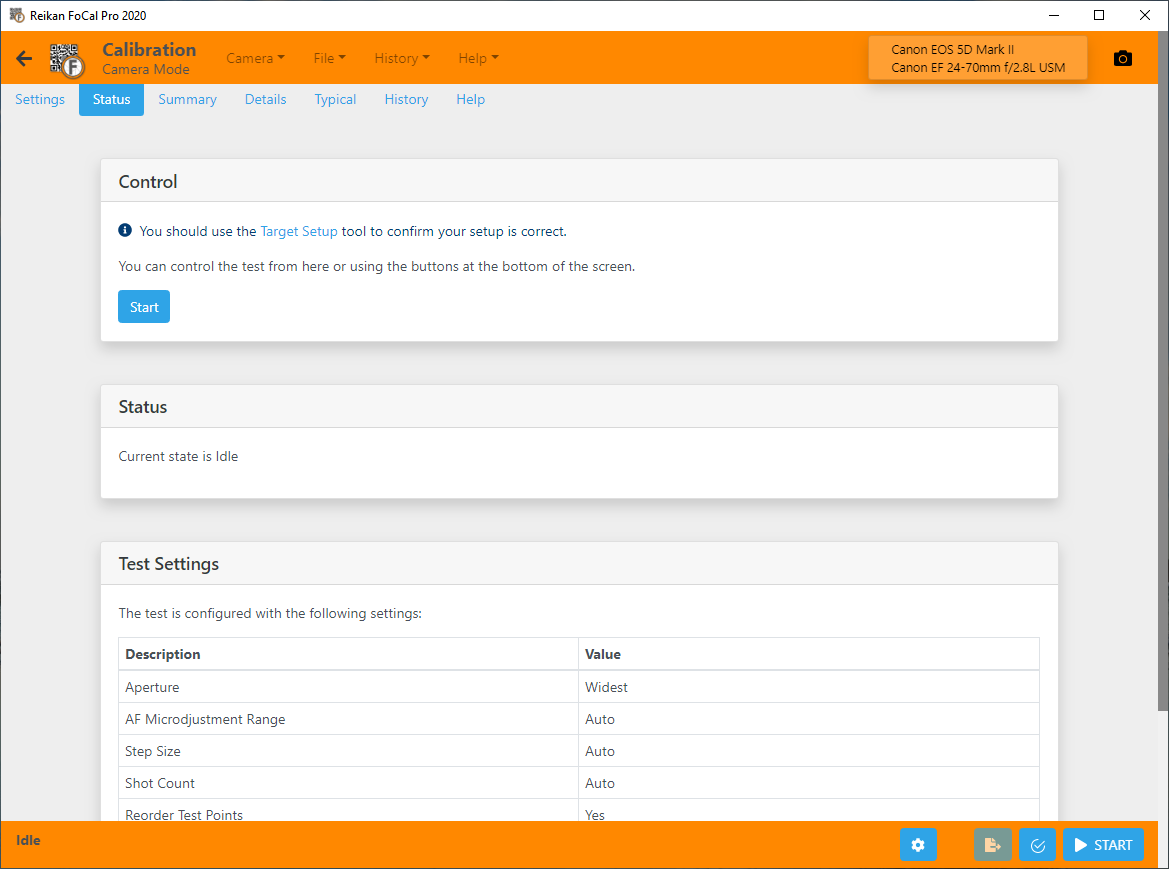
The Tab Bar at the top of the page (just under the Nav Bar) lets you choose between:
- Settings for the test
- Status – information about the settings used and the state of the test, including stop/start button
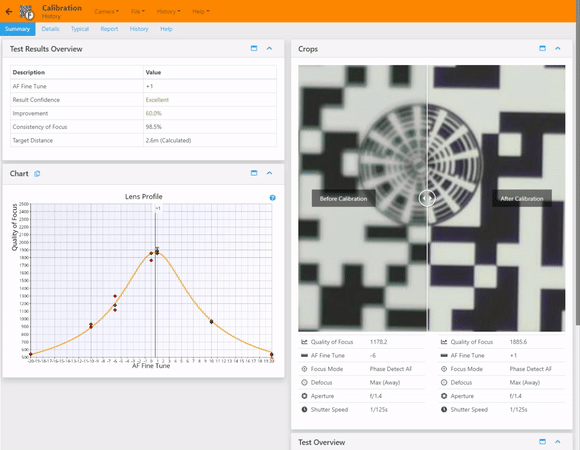
- Summary: basic summary information about the test results
- Details: the complete results details for the test including multiple charts, lists of shots with capture information, crops etc.
- Typical: Access to Focal Comparison Data to compare your equipment with users of the same camera/lens combination.
- History to access previous results run on the same camera/lens combination
- Help: information about the purpose of the test, how to use it and links to the detailed online help.
The Control Bar at the bottom of the screen lets you control the test and gives feedback on the state of the test. It is present irrespective of which tab you are viewing (but not present for tests loaded from History).
Depending on the options for the test, the Control Bar lets you:
- Start/Stop a test
- Jump to Target Setup
- Save a PDF report of the results
- Jump to the Test Settings
- Choose Files for File Mode tests
Comparing Crops
Within test results, FoCal often displays crop images using a slider component, which allows you to slide the bar left/right to reveal each image for comparison:
Moving around the User Interface
Unlike in previous version of FoCal, there is nothing to stop you moving around the user interface while tests are running.
For instance, while a Calibration is in progress, you could review historical results from the History page, or take a look at results from the latest run Aperture Sharpness test by choosing this from the menu.