Getting Started
The Wireless Module has a number of ports around the unit, but for use with FoCal we’ll be connecting to just 2 of them.
Unit Overview
On the left side is the USB port, which you will use to connect to your camera.
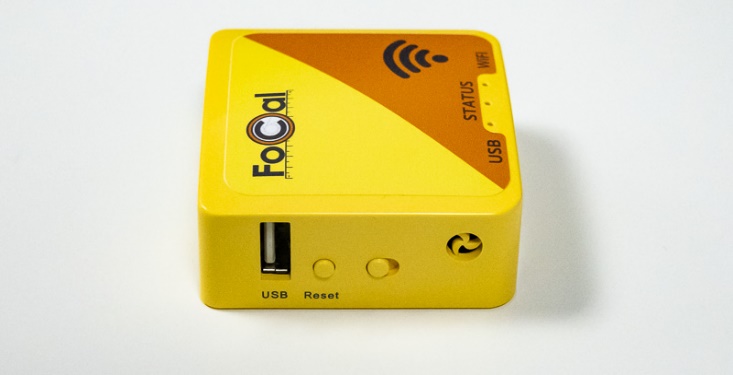
There is also a button and a switch. The button (labelled Reset) can be used for completely resetting the module if there is a problem - it’s important to avoid pressing and holding this button unless instructed to do so.
On the top side of the module is the Power socket, which you will use to supply power.
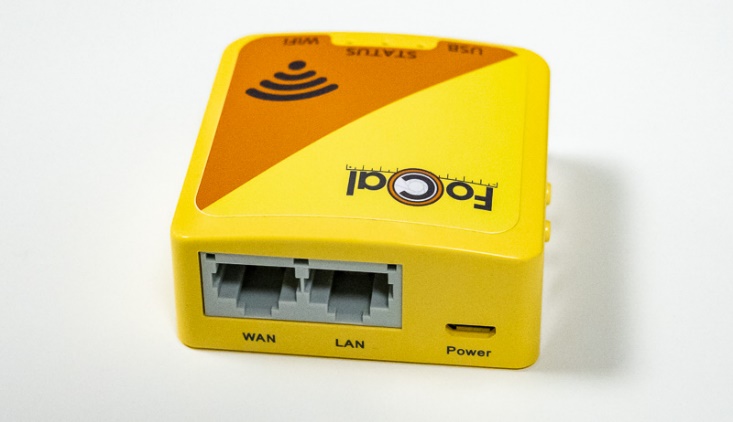
You can ignore the grey RJ45 connectors for now – they are not currently used by FoCal.
Connecting Power
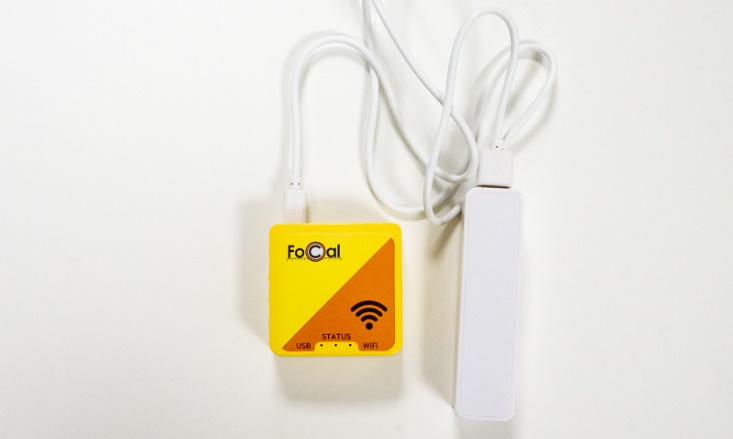
Power to the Wireless Module comes from a standard USB power source – either a battery for portable operation, or a power supply unit.
Connect the smaller (Micro USB) end of the supplied white power cable to the Wireless Module Power socket, and connect the other end to a USB battery or power supply:
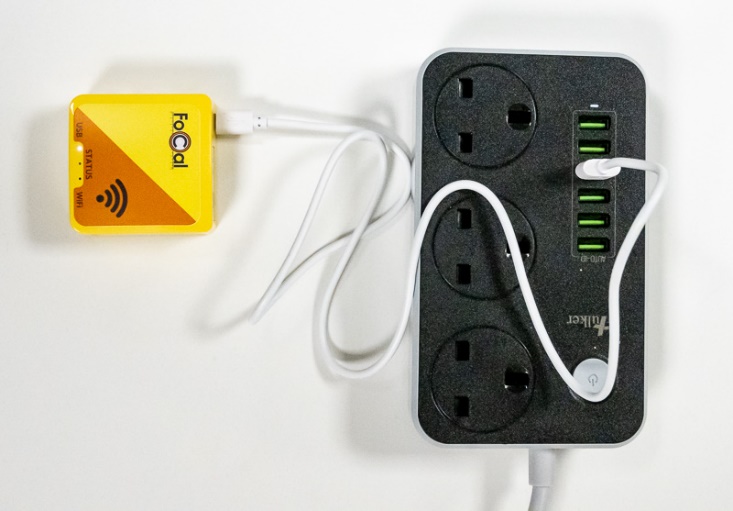
NOTE: The module may consume up to 1A (5W) of power, so please ensure that the power supply or battery you connect to is capable of supplying at least 1A (5W) otherwise you may experience unreliable operation.
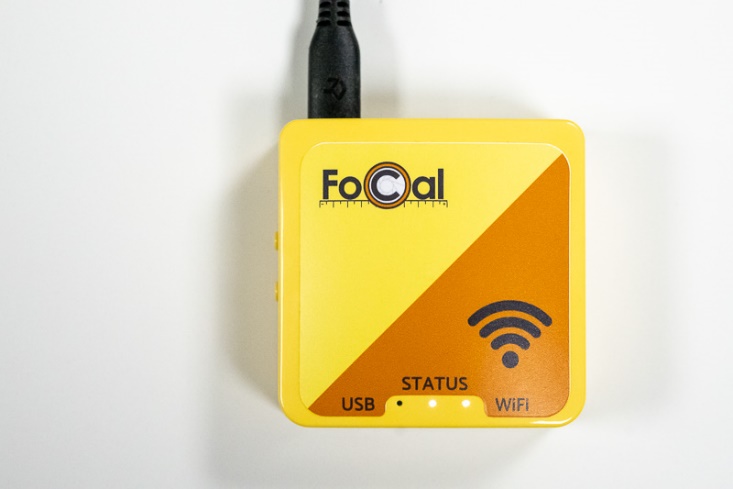
Wireless Module LEDs
There are 3 LEDs at the bottom of the front face of the module which indicate various states of the device.
Power Up
When the module is first powered up, you will see the following sequence of lights:
- USB lit solidly for around 15 seconds
- USB flashing for around 40 seconds
- USB turns off
- STATUS flashing once per second.
Normal Operation
USB
The USB light will flash as FoCal communicates with the camera.
STATUS
The STATUS light will flash once-per-second when the unit is idle and ready to connect to FoCal.
When connected to FoCal, the STATUS light will light solidly.
WIFI
The WiFi light will flicker when there is data being sent over WiFi.
In an idle state, it may be either solidly lit, or unlit.
Wireless Module – Quick Start | This Page | Connecting to FoCal