File Mode
File Mode allows you to run tests from a set of files you have captured yourself. FoCal has no connection to the camera for File Mode operation and can be used to analyse images from cameras and lenses which are not supported in tethered mode from FoCal.
File Mode Camera Support
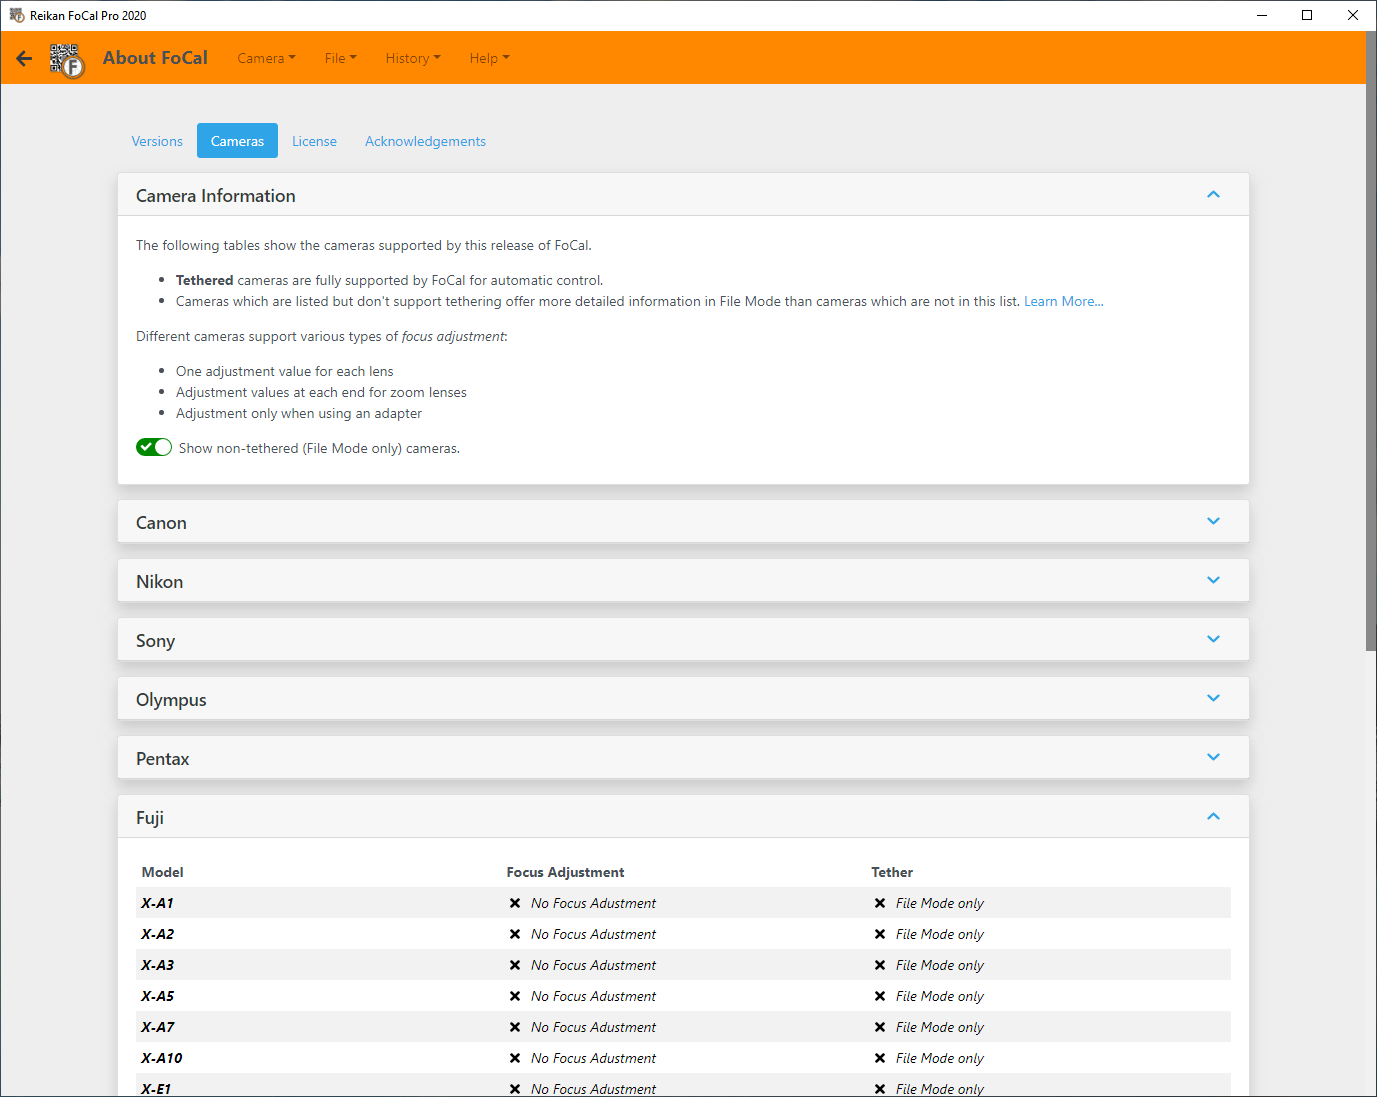
FoCal contains an internal database of camera definitions, which contains detailed information about camera specifications. Although FoCal does not have a physical connection to the camera when analysing in File Mode, where the camera is defined within the camera definition database there will be extra information displayed.
You can see which cameras are supported from the Help > About > Cameras page, by clicking the Show non-tethered (File Mode only) camera option, e.g:
Operation
File Mode functionality is accessed through the File menu.
The Overview page will show you the tools available, or you can select individual tools from the menu.
Available Tests
File Mode Specific Tests
Tethered and File Mode Test
Selecting Files
When opened in File Mode, a test will default to the Files tab to allow you to choose a set of files to use. For example, choosing File > Calibration will show the following page:
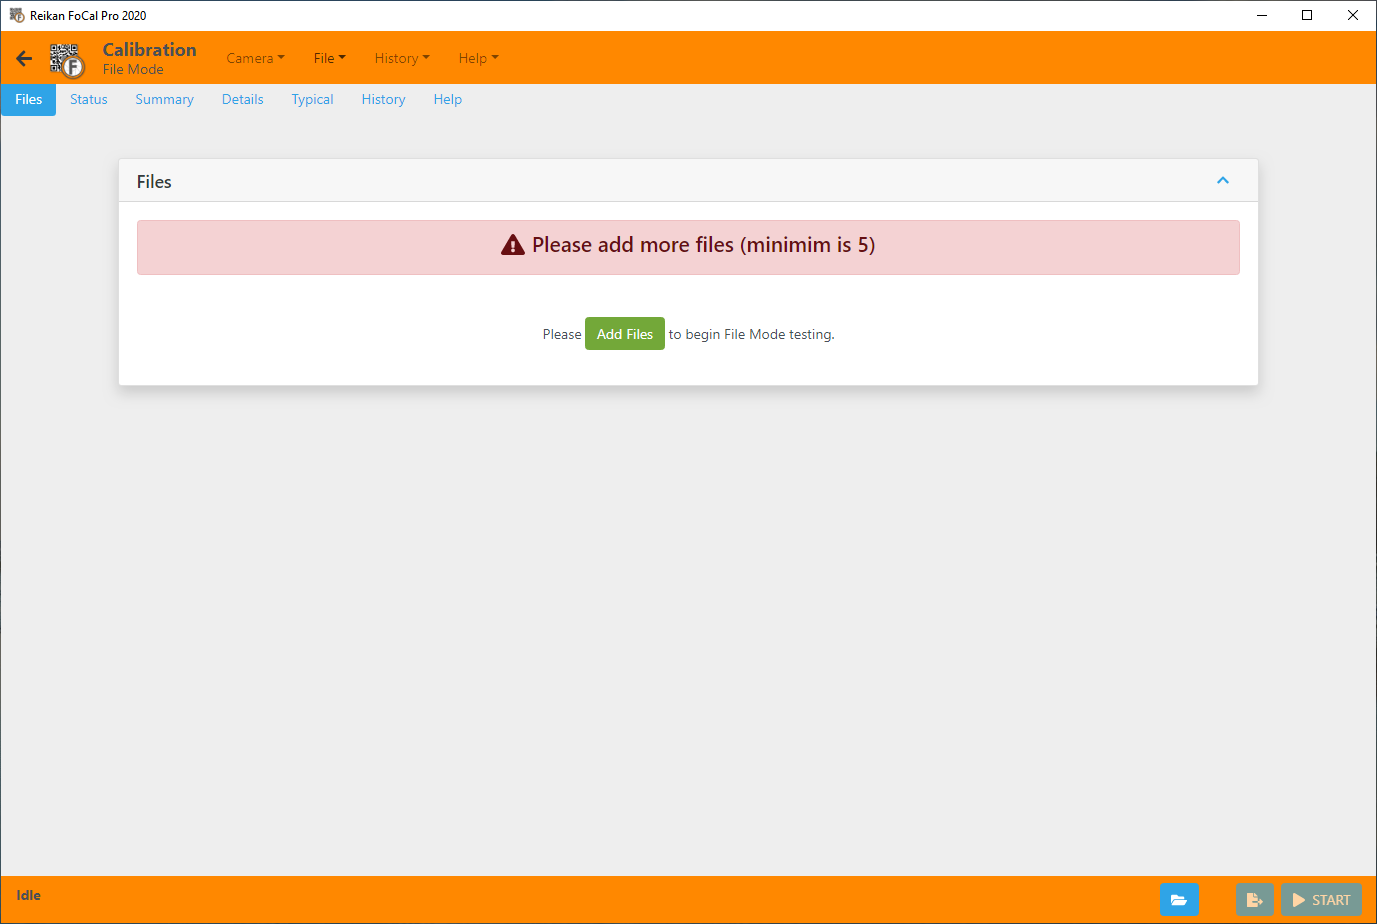
To choose files, hit the Add Files button and use the chooser to select a set of files:
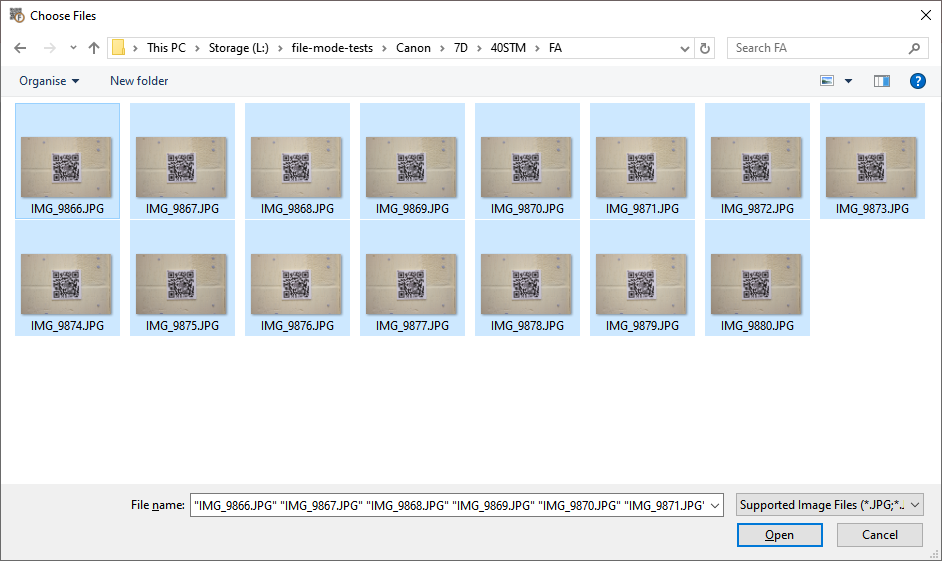
You can select a number of files – even ones that you don’t necessarily want to analyse for this test. There is further filtering to do in the next step. Once you’ve selected some files, hit the Open button and the Files tab will update:
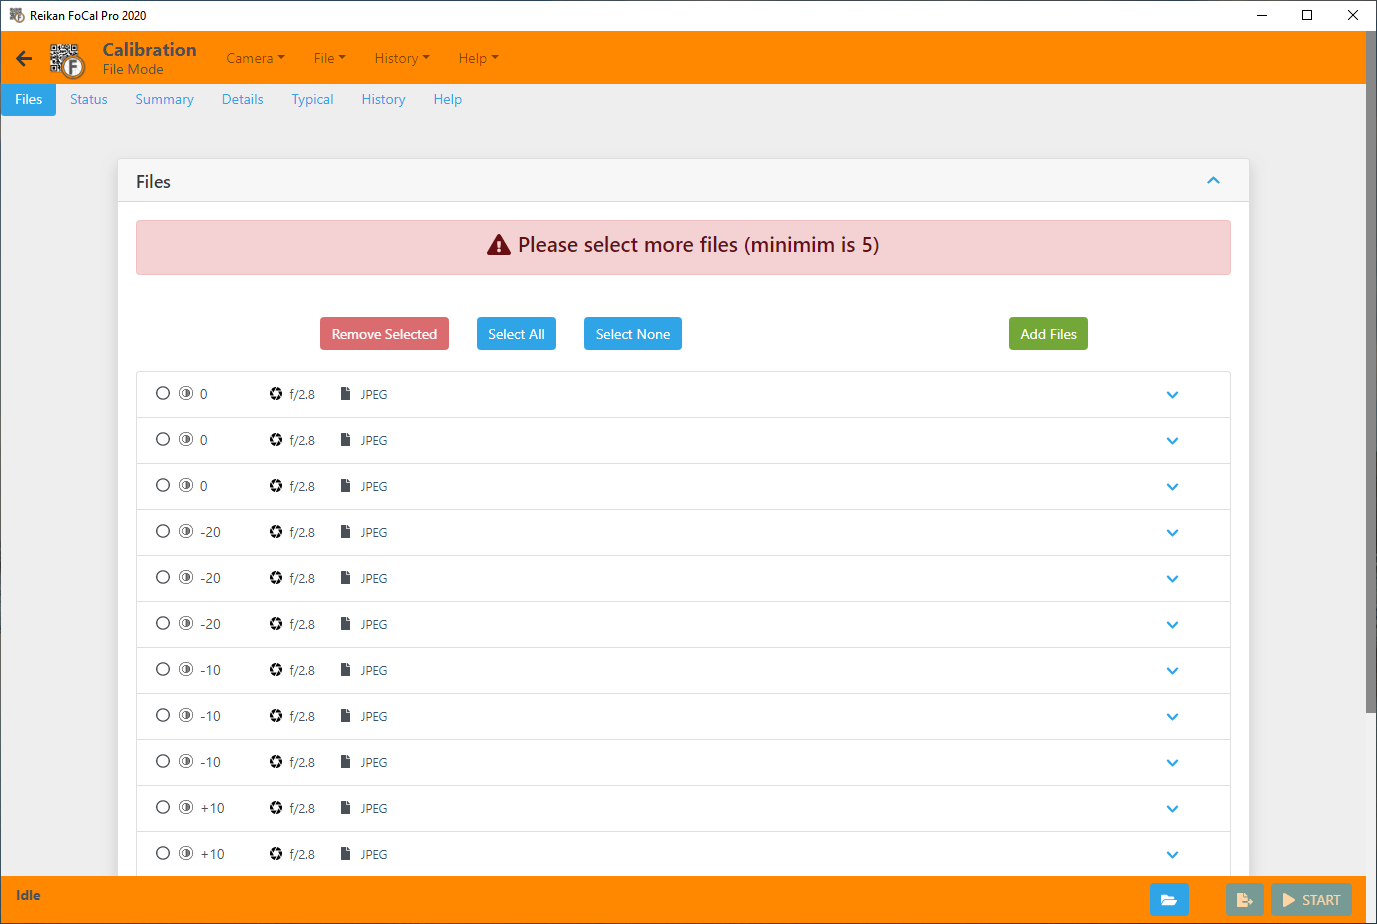
The information bar at the top is showing the message “Please select more files (minimum is 5)”. This is because we have obtained information about the set of files shown on the screen, but have not yet selected any.
To select a file, simple click on the line of the file, for example:
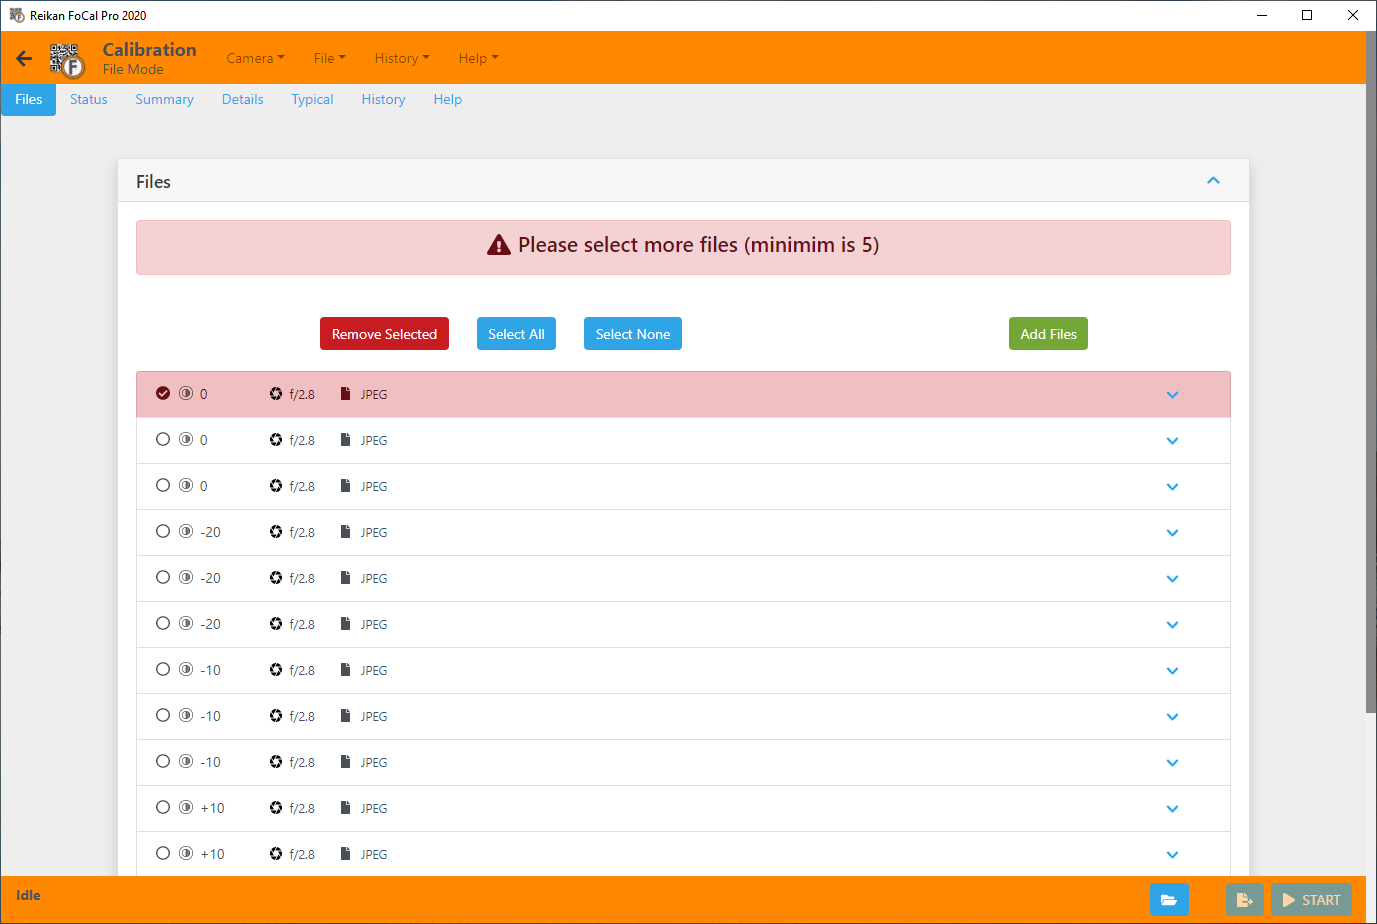
One file is now selected, but the selection is shown in red as there is still not 5 files chosen. Let’s select the first 5 files:

Notice now that the information bar is now showing “Please add more AF Microadjustment values (minimum is 5)”
We’ll go ahead and select all the files with the Select All button:
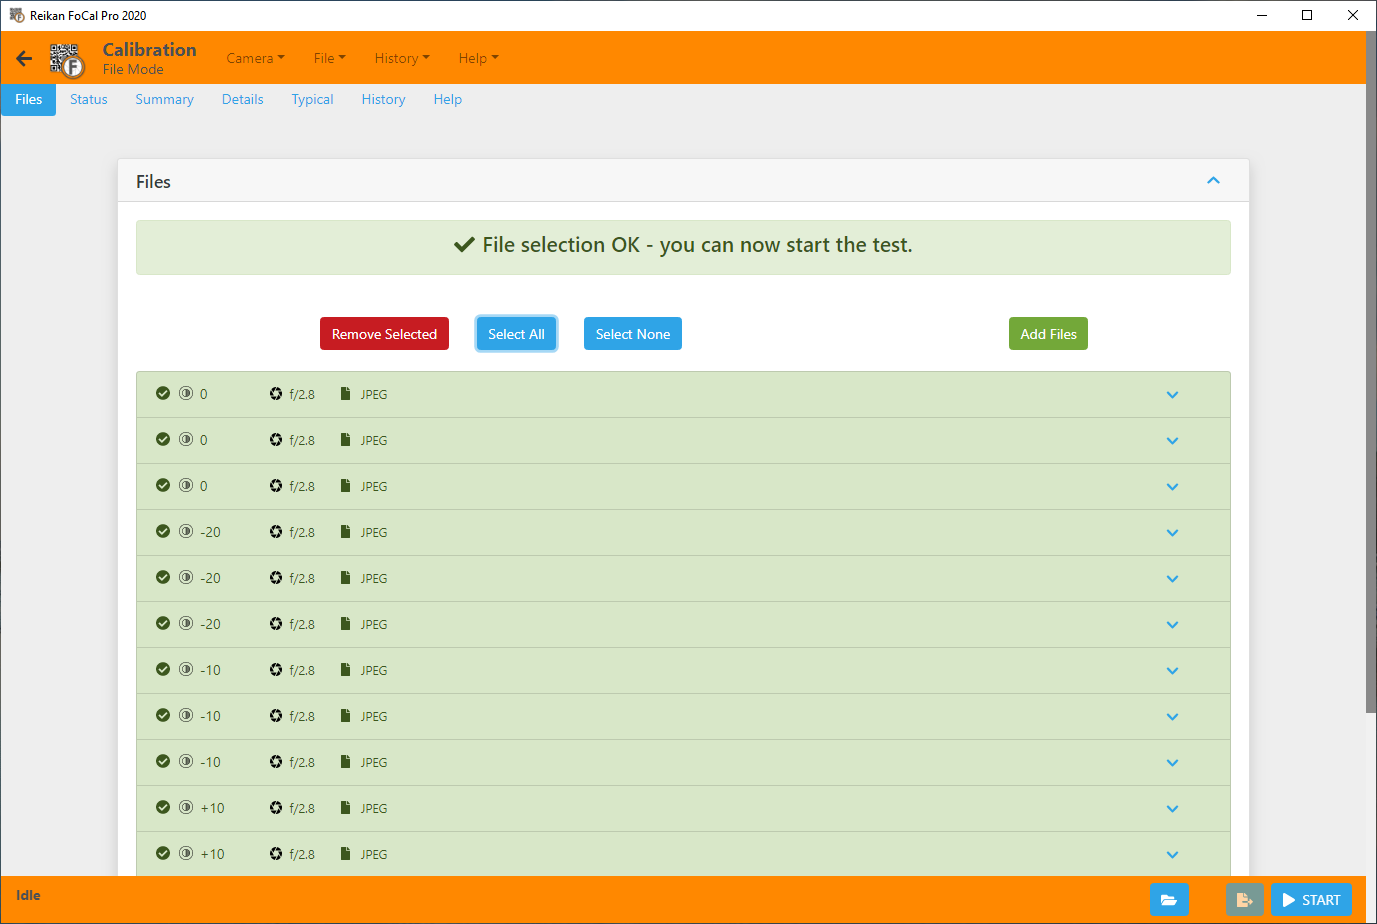
And now the selection is shown in green, the information bar shows “File selection OK” and the Start button is now enabled.
To analyse the selected files, you can go ahead and hit the Start button. The test will now run.
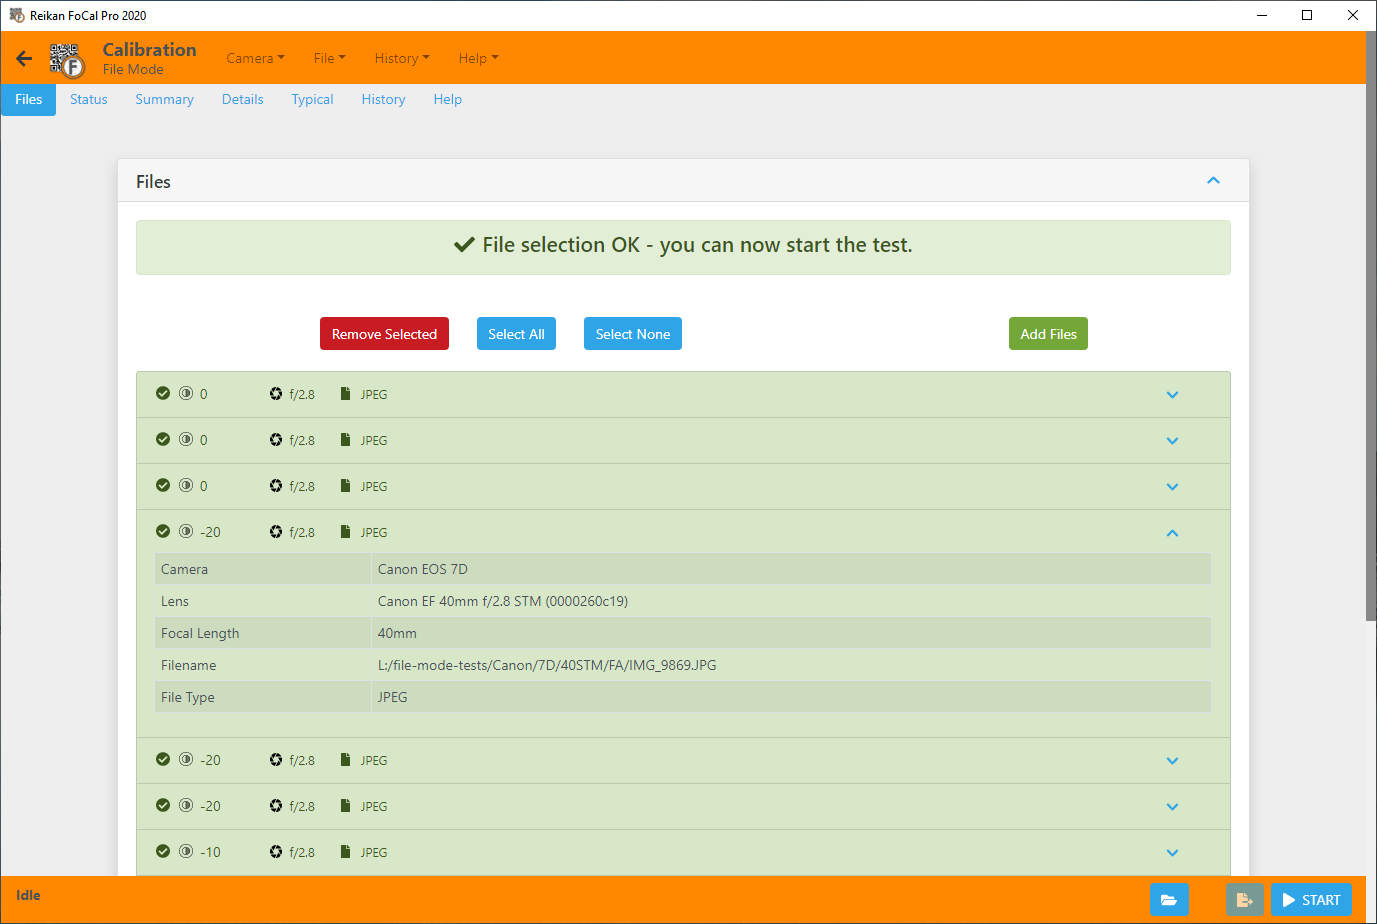
File Information
The file table shows basic information about the file, but if you want to see further details about any individual file you can hit the blue arrow at the right side of the row, e.g.
Licensing
File Mode is not tied to specific camera serial numbers like tethered mode, but the valid System ID of the computer you are currently using must be specified in your license. If this is not the case, you will see a message asking if you wish to enable File Mode for this computer – simply accept this message if you wish to enable File Mode on this computer.
Capturing Images for File Mode analysis
When running in tethered mode, FoCal takes full control of the camera and configures it for the best analysis results during the test. When you manually capture files for File Mode, you will need to replicate these settings in order to get the best from the tests.
The points below form a guide of how to manually capture images for tests:
For All Tests
- As with tethered mode, ensure the camera is mounted on a sturdy tripod. Remove any battery grip if one is present.
- If you have a remote release cable for the camera it is best to use this as you will then reduce the chance of moving the camera between shots. You could also use a companion smartphone application if this is supported by the camera.
- If the camera supports Mirror Lockup, enable this feature.
- Under normal conditions, you should dial in +1 EV exposure compensation if your camera supports this.
- If analysing JPEG images, be sure to select a neutral picture style (e.g. Faithful, Neutral or Standard).
- It is a good idea to capture both Raw and JPEG images at the same time if your camera has this option, as this will give you the ability to analyse both sets of images in FoCal to get an understanding of how much processing the camera does for the JPEG files.
For Autofocus Tests (Fully Auto Calibration, AF Consistency)
- Select a single, centre focus point in single focus mode (e.g. One Shot or AF-S)
- Between each shot, it’s best to carefully defocus the lens towards infinity. This will force the full autofocus algorithm to run within the camera.