Using the Module
Once the module is:
- Powered up (see Getting Started), and
- Connected to WiFi and FoCal (see Connecting to FoCal)
You are ready to use the module!
Connecting a Camera
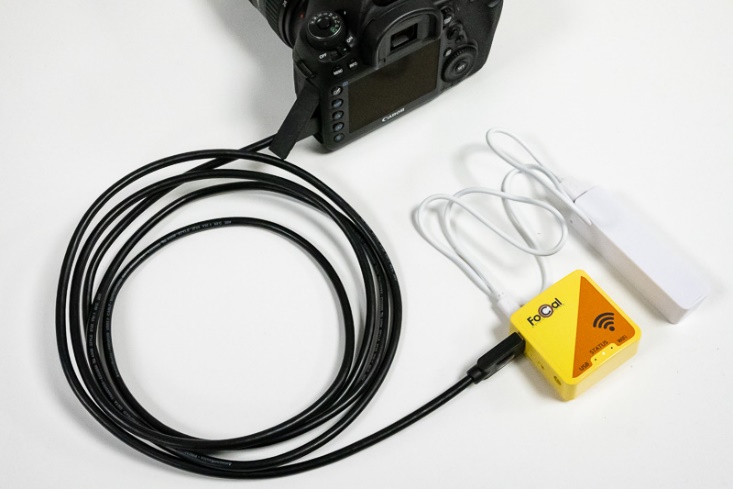
All you need to do is connect your camera to the USB port on the Wireless Module as if you were connecting to the USB port on your computer:
Go to the Camera page in FoCal, and you should see the connected camera (if not, then hit the refresh button – the circular icon next to Available Cameras):
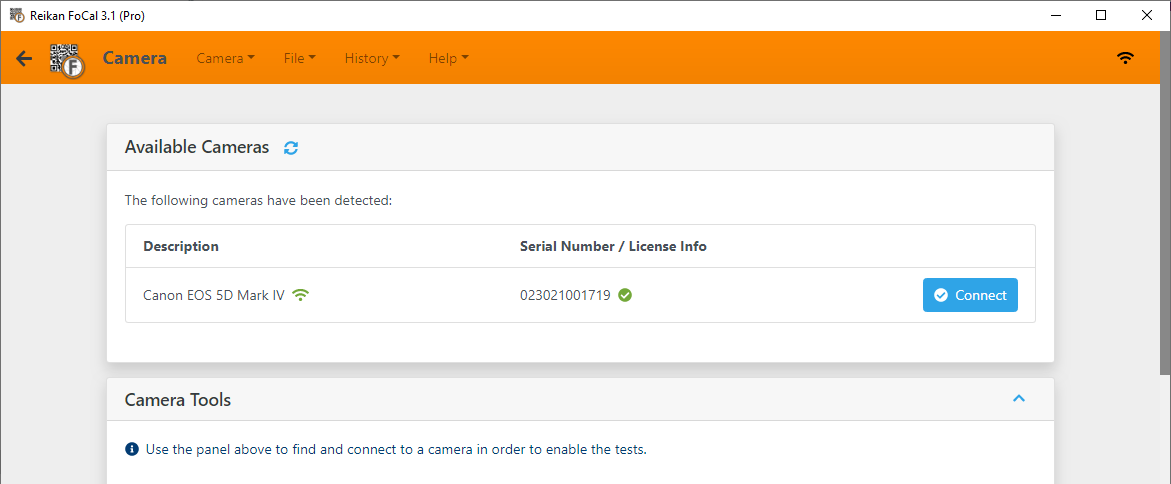
The green Wireless icon next to the camera name shows that this camera is connected using the Wireless Module.
From this point onwards, you can just use the camera in exactly the same was as you would with a wired camera.
Bear in mind that the wireless data rate is likely to be significantly slower than the wired USB data rate, which could mean longer transfer times for images, especially with high megapixel cameras.
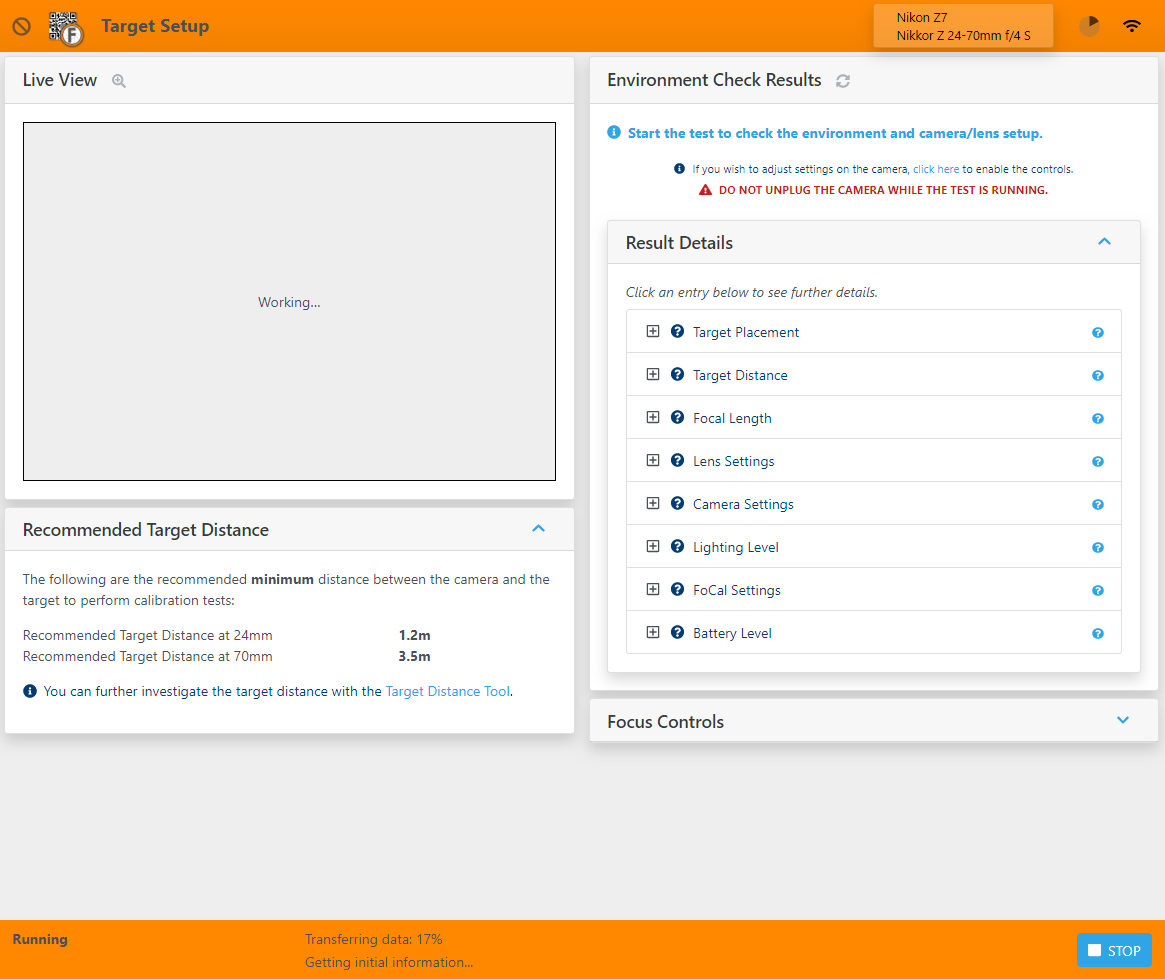
The transfer progress indicator icon on the top right of the status bar, next to the Wireless icon, will show up during a file transfer. While you may not have noticed this for very quick USB transfers, you will most likely see it fill as the transfer completes over a few seconds. There is also a progress percentage indication at the bottom of the screen for most tests:
All Set Up!
You’re all set up now, ready to go with the Wireless Camera Control Module.
We hope you enjoy using this addition to FoCal – let us know if you hit any issues through the support page.
Connecting to FoCal | This Page