Dust Analysis
See what's on your sensor
Dust on the sensor shows up as dark spots in your pictures, especially at small apertures. Dust Analysis maps the dust on your sensor so you know when it needs cleaning, and whether it’s building up between tests.
What you get
- A map of the dust on your sensor (where each spot is, and how big and dark), with a count of spots.
- How much of the dust stays in the same place from one test to the next, so you can tell dust stuck to the sensor from dust that comes and goes.
- A history, so you can see dust building up.
How it runs
1Set up
In good light, hang a piece of plain, uncreased paper in front of the lens (a little putty on the lens hood holds it), and open Dust Analysis from the Camera page. Turn on Save Captured Images in the test's settings if you want to look at the dust close up.
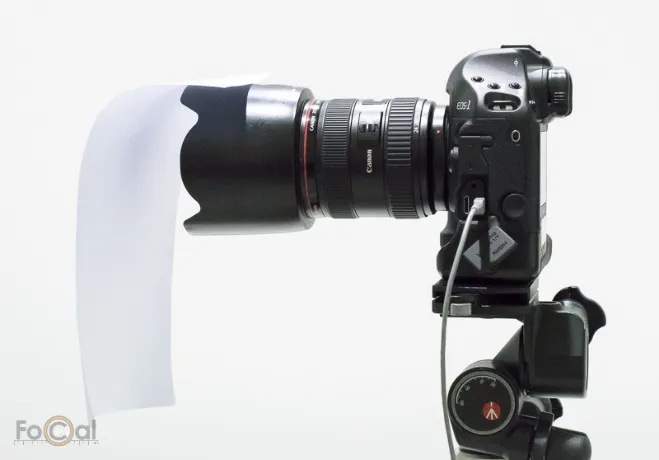
2Run the test
Hit Start: FoCal checks the lighting and settings, then takes shots across the apertures.
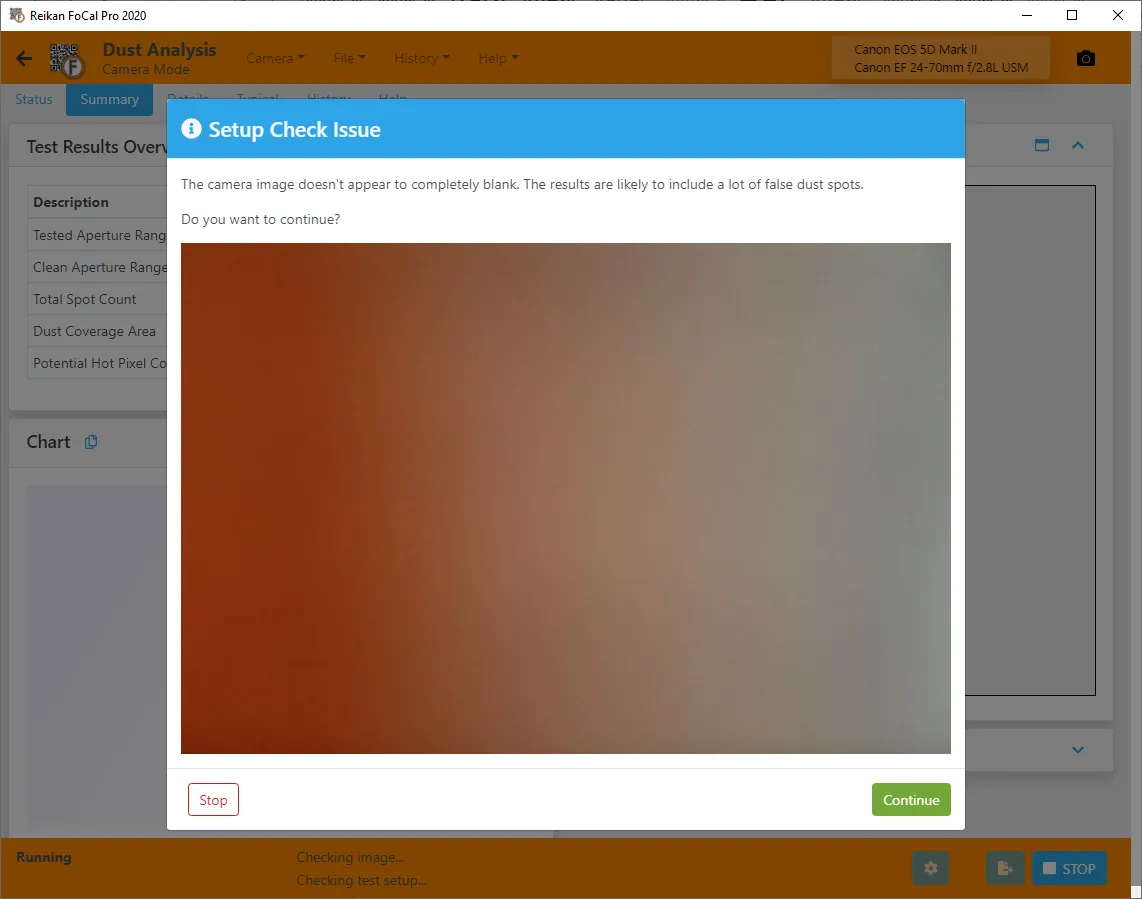
3Your answer
See the dust map. The numbers settle as the test runs.
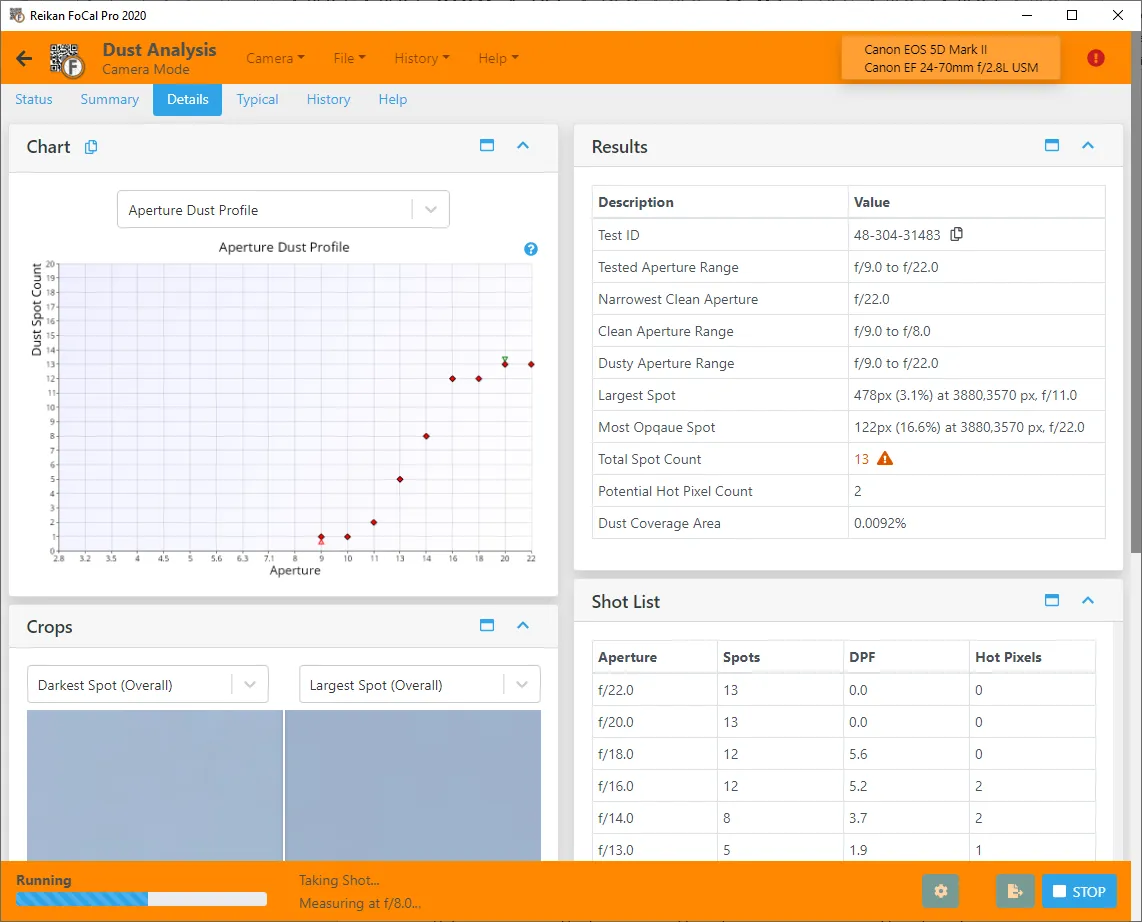
Your results
The dust map shows where particles sit on the sensor and how prominent each one is.
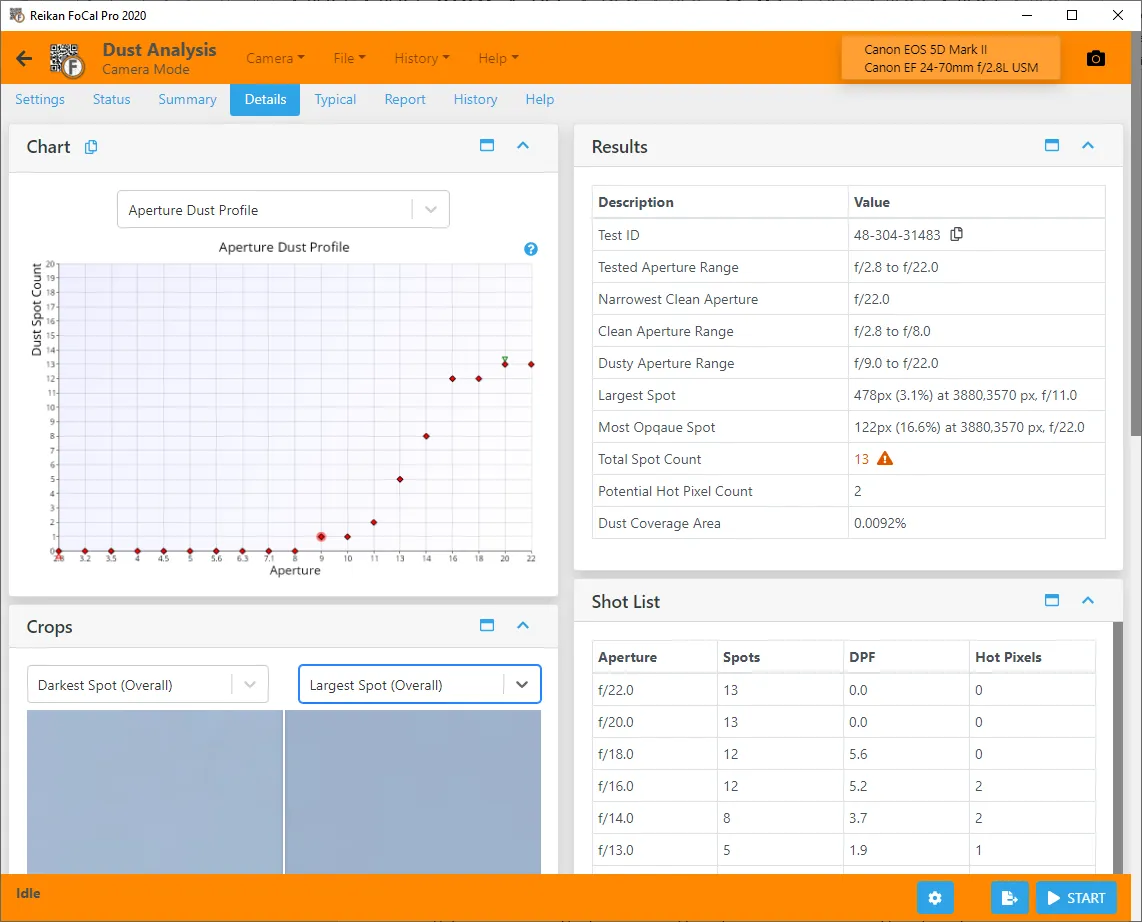
Over time
In FoCal Pro and Commercial, History → Analysis shows the Dust Trajectory (on the Camera and Camera + Lens tabs): how dust builds up, big jumps that might mean something got in, and how much of it stays put between tests.
How often: As part of your Kit Health Check: every few months, or monthly for the best trends. Over time it shows how quickly dust builds up, so you know when the sensor needs cleaning.