Dust Analysis
On this page
Dust on the sensor shows up as dark spots in your pictures, especially at small apertures and in plain areas like sky. The Dust Analysis test maps the dust on your sensor and shows how much it will actually show in your pictures, so you know whether you really need to clean it. It also looks for potential hot pixels.
Run it monthly, after cleaning the sensor (to check the cleaning worked), and whenever you spot marks in your pictures.
Opening the Dust Analysis test
With a camera connected, choose Camera > Dust Analysis from the menu bar.
To analyse images you have already taken, choose File > Dust Analysis (if file mode is available with your licence).
Save the captured images
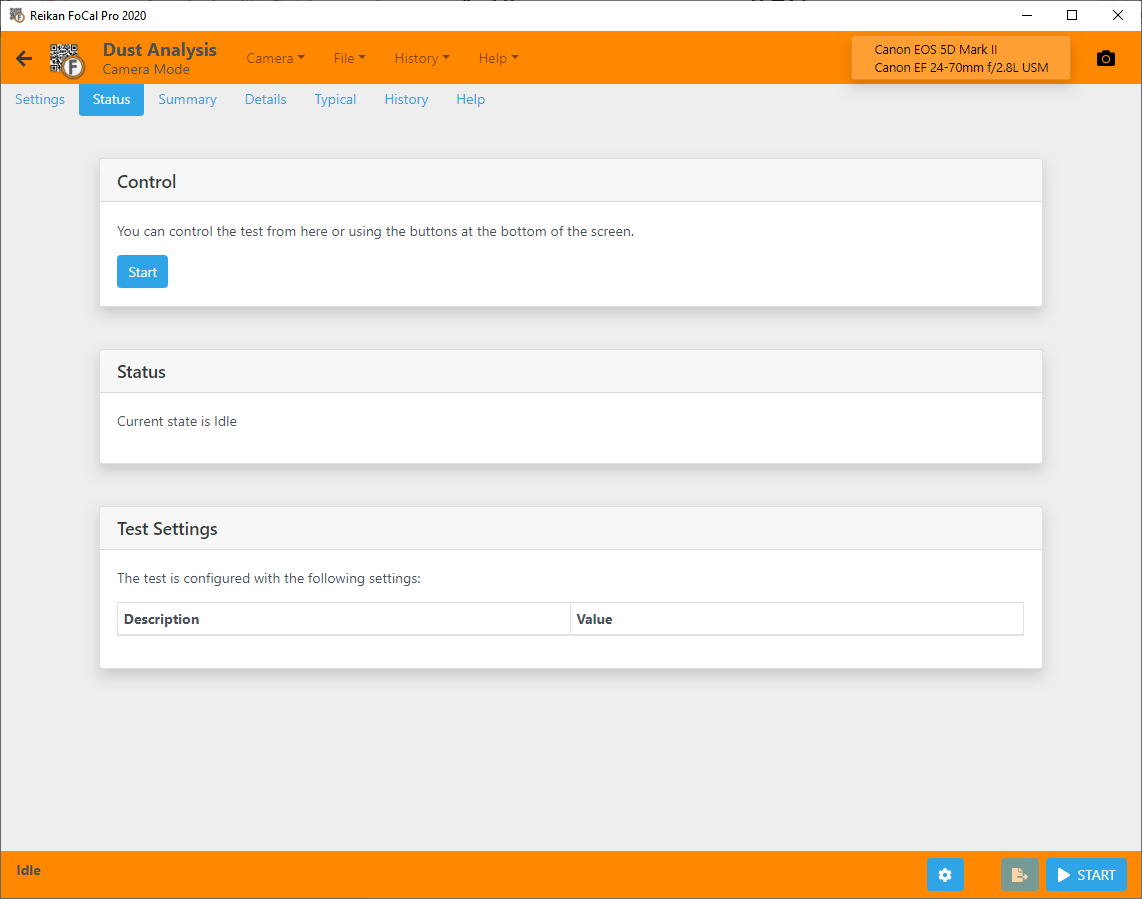
To see crops of the spots on your sensor, FoCal must save the images it captures. You can run the test without saving images, but then you can't view any crops, and FoCal warns you before the test starts.
On the Settings tab, turn on Save Captured Image Files and choose a folder. FoCal remembers this for next time. See Settings – Dust Analysis.
Setting up
Dust Analysis is different from the other tests: it needs a plain, evenly lit, colourless view, with no detail, creases or shadows.
- Hang a clean, uncreased sheet of white paper in front of the lens, evenly lit. Adhesive putty (for example Blu-Tack) on the lens hood or the top of the camera works well. A plain white wall or a clear sky also works.
- Set the lens to manual focus at infinity, so any texture in the paper is blurred away.
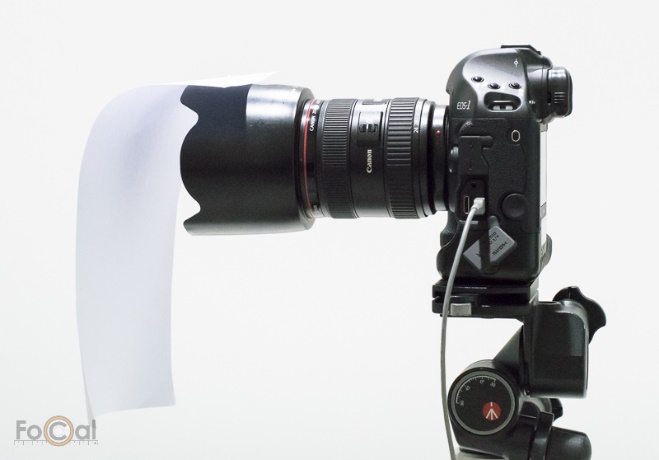
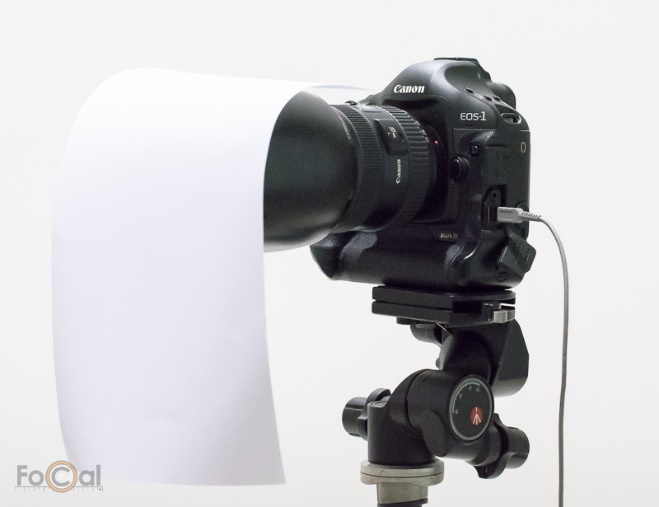
Don't worry if you aren't sure you've done it right. The test checks the image is plain and suitable first, and warns you if there is a problem.
Use good, bright lighting. The test runs faster, and in dim light FoCal may not get accurate information at the smallest apertures.
Running the test
With the lens covered and a folder chosen for the images, press Start.
FoCal first checks the view, the lighting and the camera settings. It warns you if there are any problems, for example:
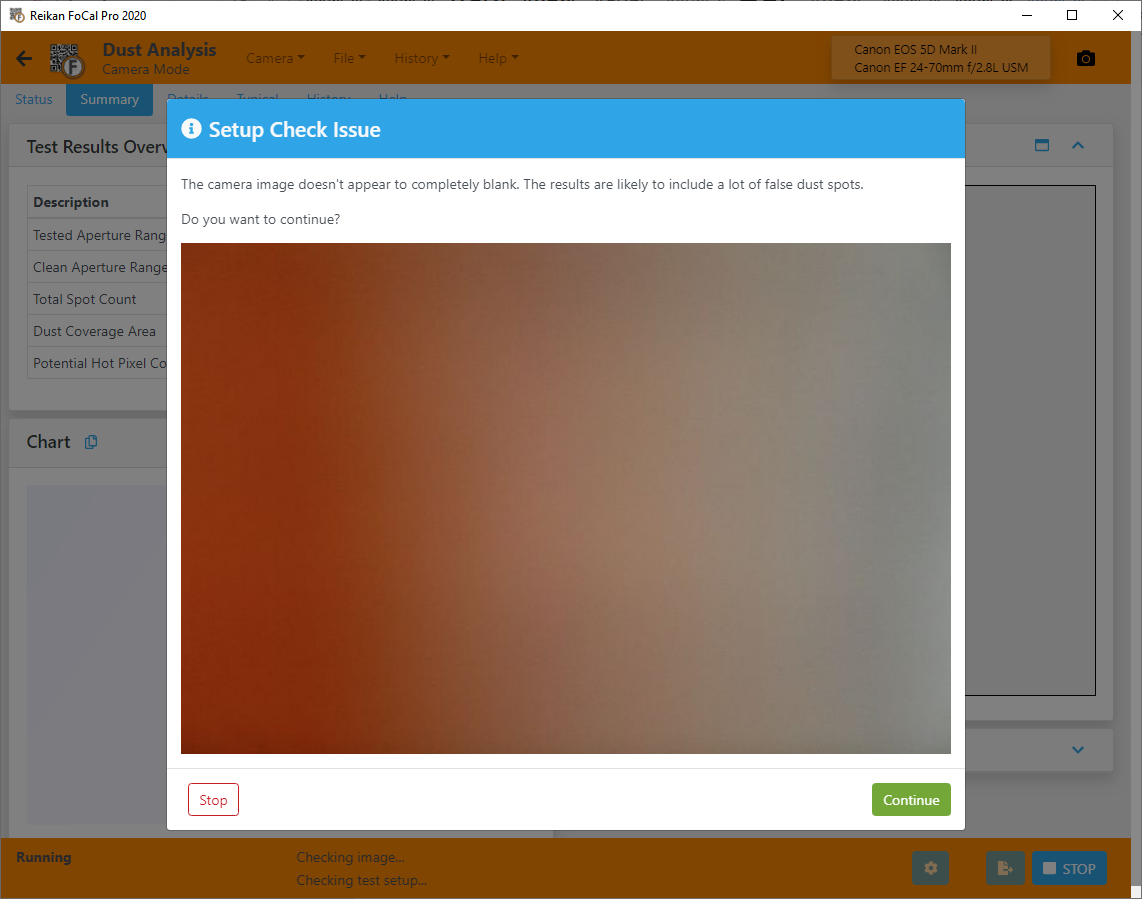
The test starts at the smallest aperture and takes a shot at each aperture, opening up towards wide open.
FoCal only reports a dust spot when it appears in the same place across several apertures. So you won't see any results for the first few shots:
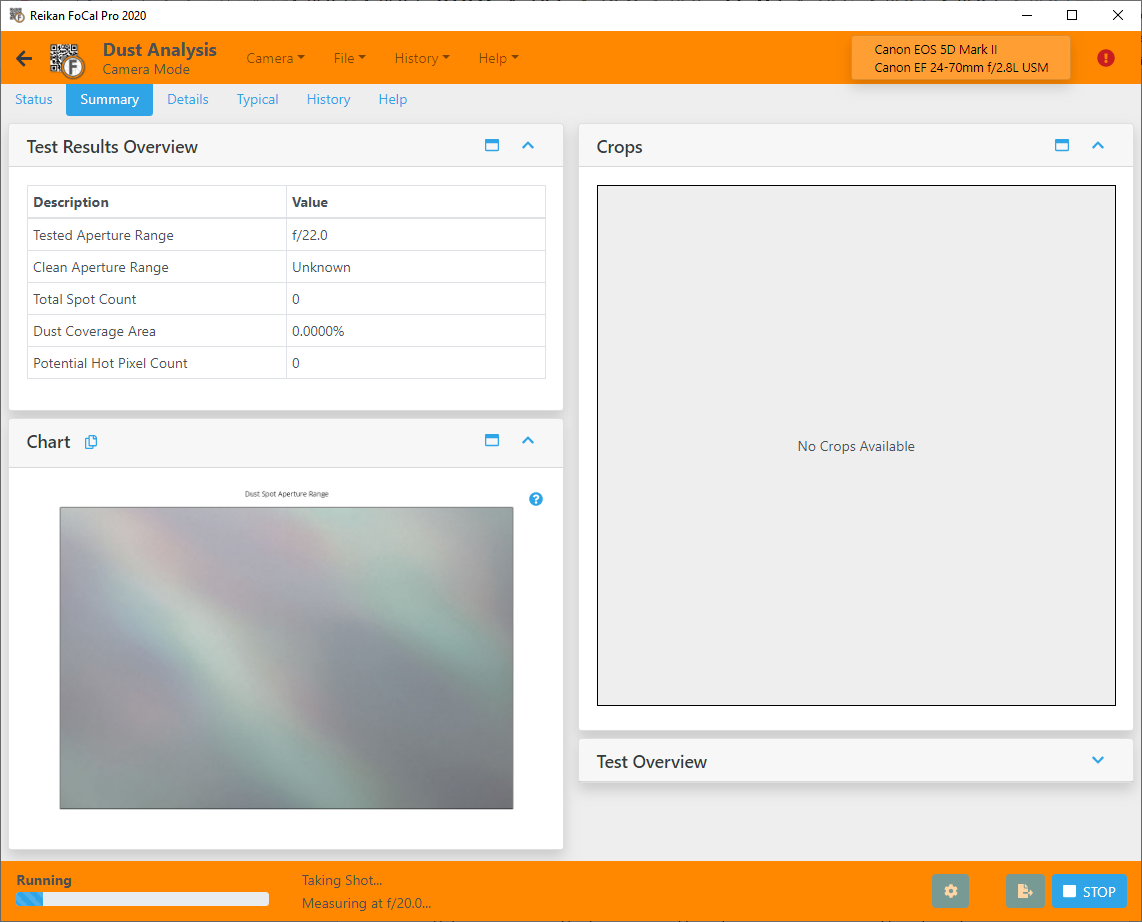
The results are refined as the test goes on, so don't worry if the count looks high at first:
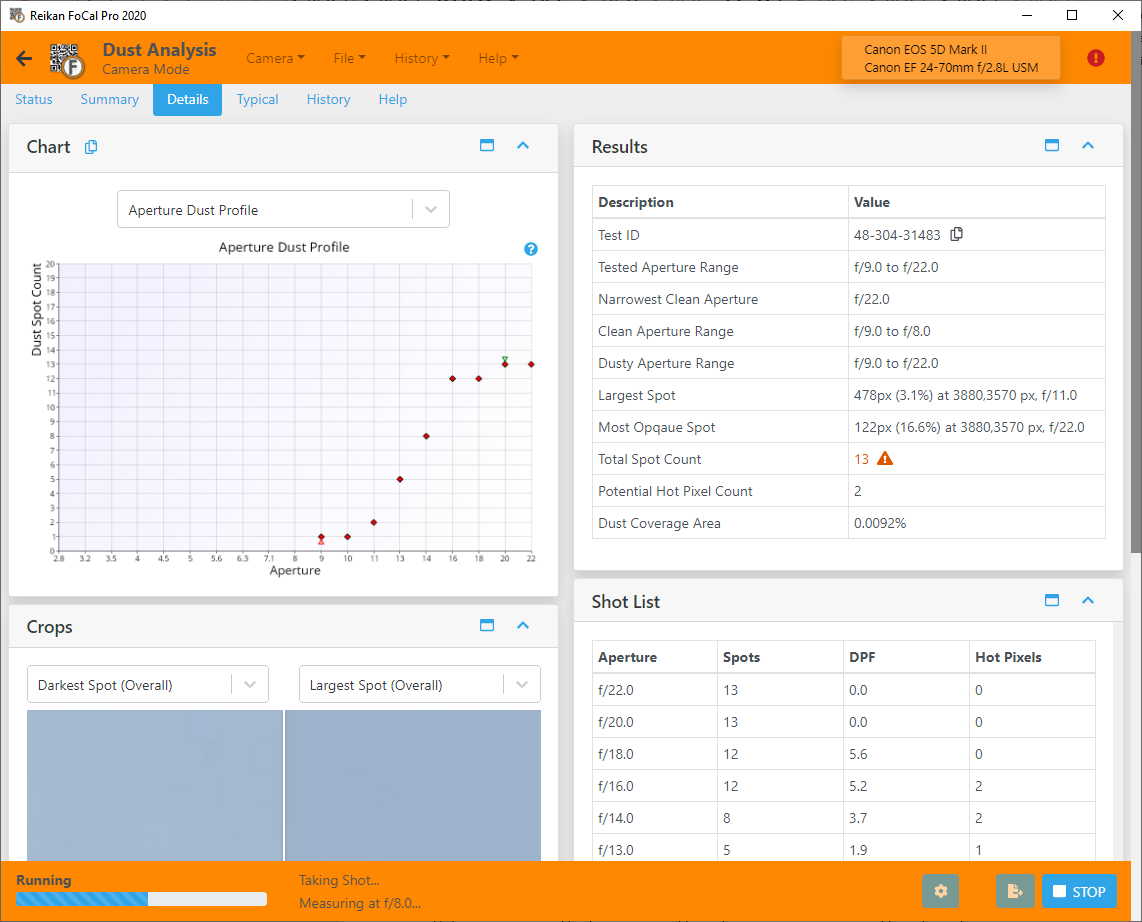
When the test finishes, the results show the dust spots and potential hot pixels detected:
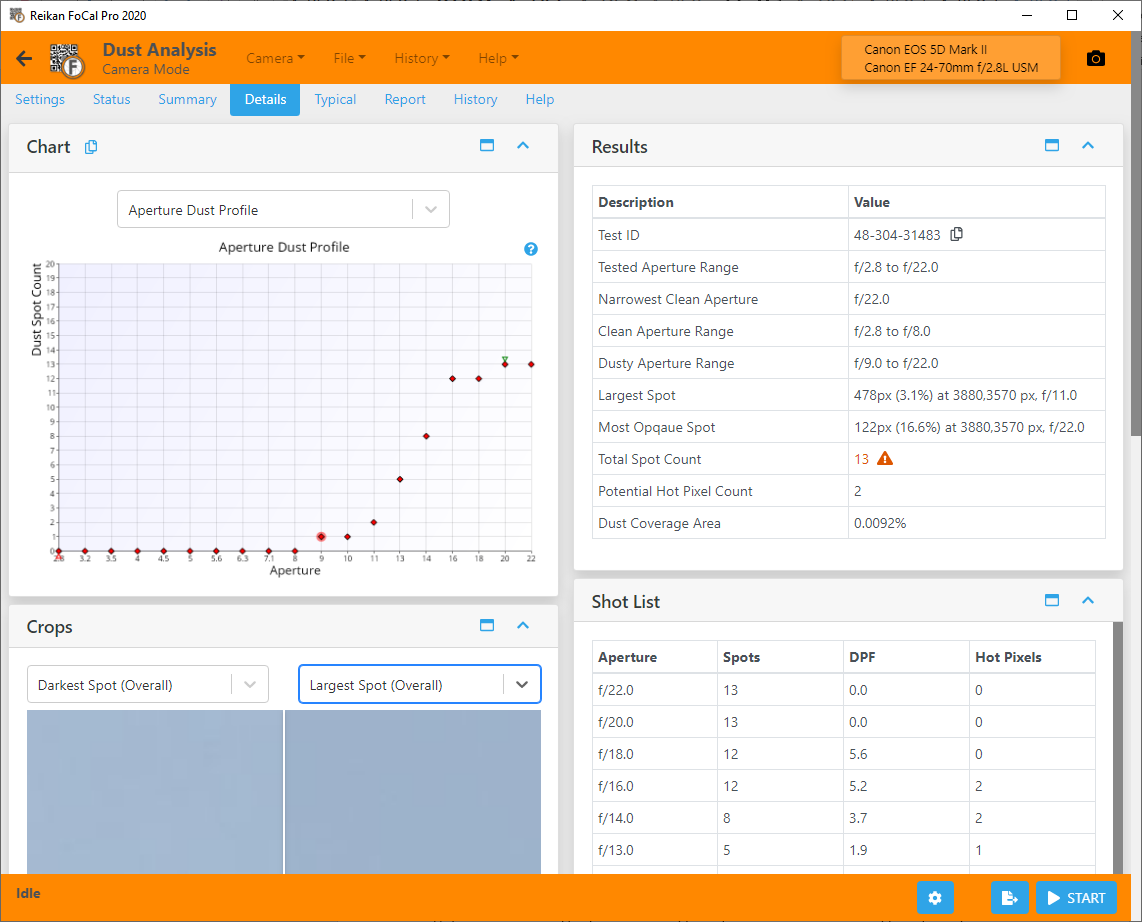
Click points on the charts to see crops of the spots. Some crops go straight to the largest or darkest spot. On the sensor map charts you can pick any spot.
The test tabs
Some tabs only appear when the test is not running, and the Details, Report and History tabs need FoCal Pro. Dust Analysis has no Scores or Compare tab: there is no FoCal Comparison Data for dust.
Settings tab
Status tab
The current state of the test and the settings it will use. See Status Tab.
Summary tab
The main results, the Dust Spot Aperture Range map and a crop of the image.
Details tab
- Charts showing different aspects of the dust (see below). Choose a chart from the list.
- All the results for the test.
- A list of every shot, with the spot count, area affected and Dust Perception Factor for each.
- Crops of the image, including the largest and darkest spots.
Charts
Dust Analysis offers the following charts (click a link for details):
Aperture Dust Profile – Dust Analysis
Dust Spot Aperture Range – Dust Analysis
Dust Spot Opacity – Dust Analysis
Percentage Area Affected – Dust Analysis
Dust Perception Factor – Dust Analysis
Potential Hot Pixels – Dust Analysis
Report tab
Save a PDF report of your results, or a CSV file of the numerical results for your own analysis. See Report Tab.
History tab
Previous Dust Analysis tests with the same camera, with a summary of the results. Double-click an entry to open it, so you can see how the sensor has changed. See History Tab.
Help tab
An overview of the test and how to run it, with a link to this online help.