Nikon – User Assisted Mode operation
On this page
This page shows how to use User Assisted Mode on Nikon cameras. Menu names vary a little between camera models.
Before the test
Set the camera up before you start a calibration, so you need to do as little as possible during the test.
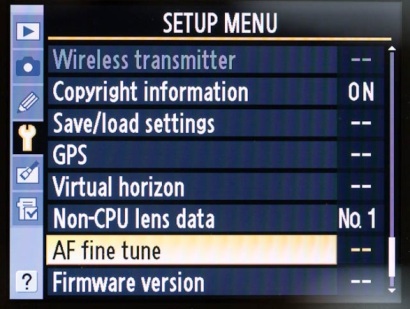
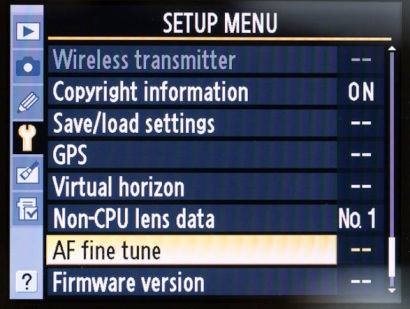
Press the Menu button and go to the Setup Menu. Near the bottom of the list is AF fine-tune:
Select it. If AF fine-tune is off, you'll see this screen:
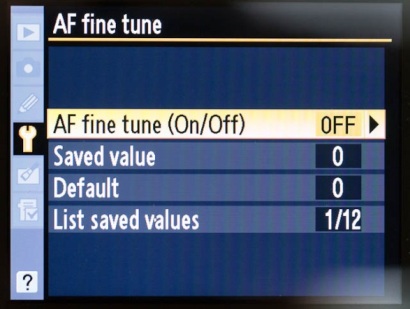
Select AF fine-tune (On/Off) and choose On:
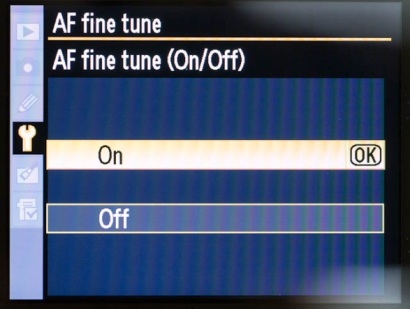
The camera is now ready for the test.
During the test
Be careful not to move the camera when you change its settings. FoCal copes with small movements of the image, but large movements can make the results inaccurate.
When FoCal needs you to change the setting, it shows a message like this. If voice prompts are on, it also tells you the value to set:
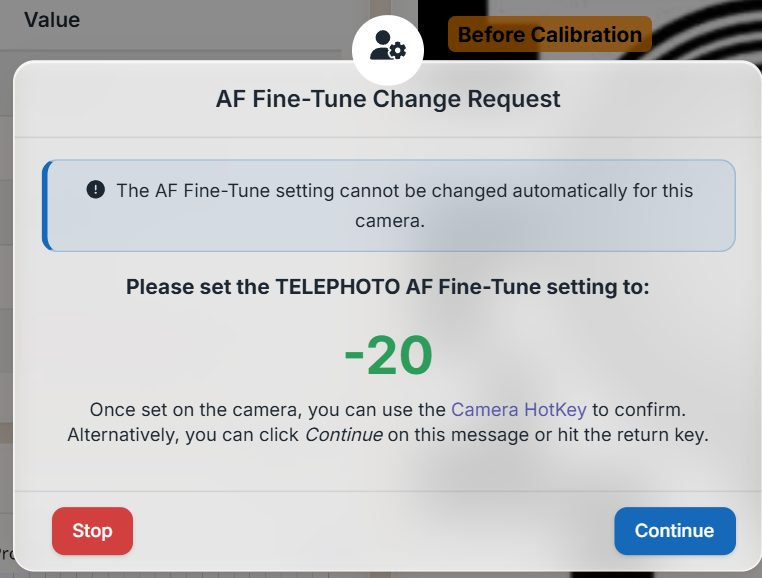
Go to the camera and press the Menu button. If you followed the setup steps above, the menu opens here:
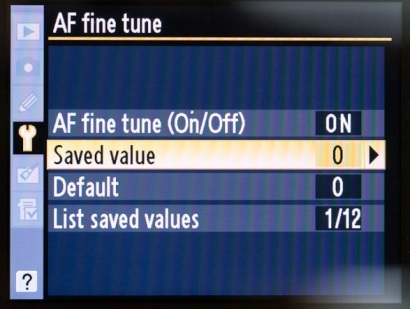
Select AF fine-tune, then scroll to Saved value:
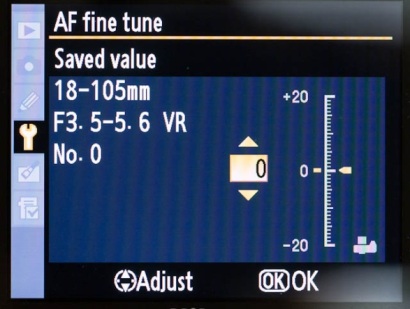
Press OK to see the adjustment screen:
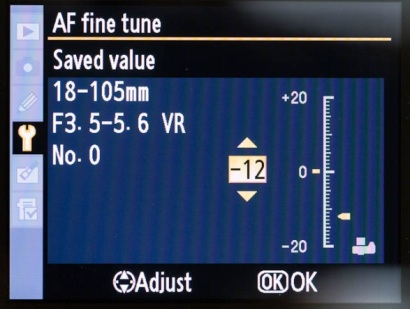
Use the up and down arrows to set the value FoCal asked for, then press OK (in this example, -12).
Then use the camera hotkey (see below), or click Continue on the FoCal message (or press Return), and the test continues.
Camera Hotkey
The camera hotkey tells FoCal you've made the change, without going back to the computer. See: