File Mode
On this page
File Mode runs FoCal tests on image files you've taken yourself. FoCal doesn't connect to the camera, so you can also analyse images from cameras and lenses that FoCal can't control (tethered mode).
File Mode Camera Support
FoCal has a built-in database of camera specifications. If the camera that took your images is in the database, FoCal shows extra information about it in File Mode, even though the camera isn't connected.
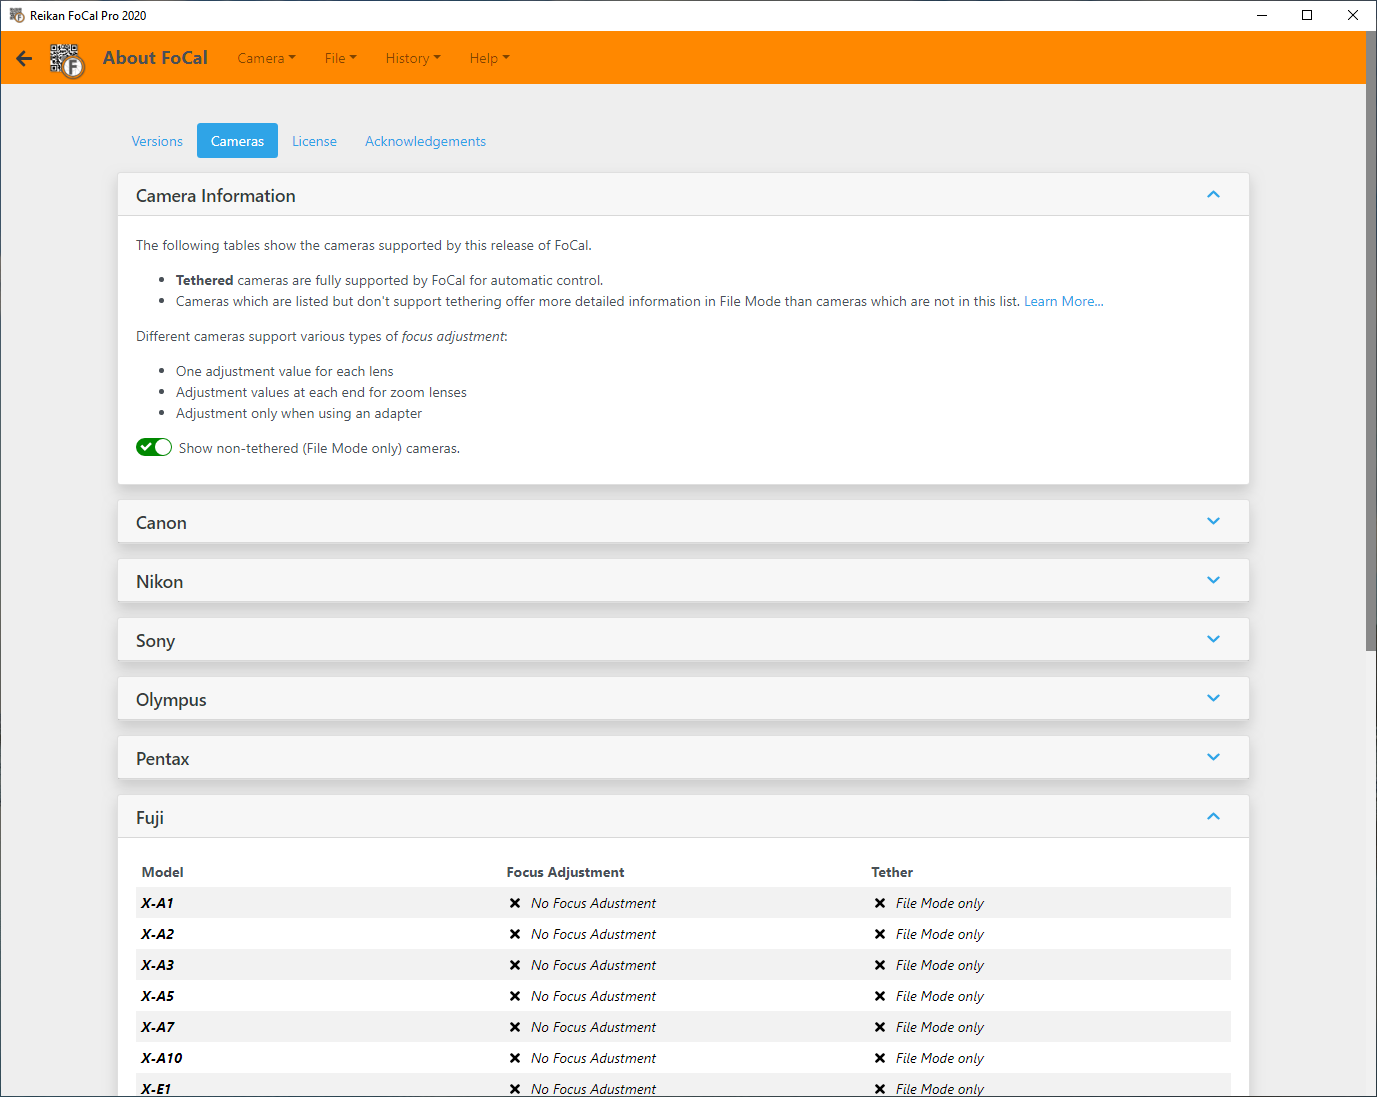
To see which cameras are in the database, go to Help › About, open the Cameras tab and turn on Show non-tethered (File Mode only) cameras:
Operation
Use the File menu. File › Overview shows a card for each tool, or you can choose a tool from the menu.
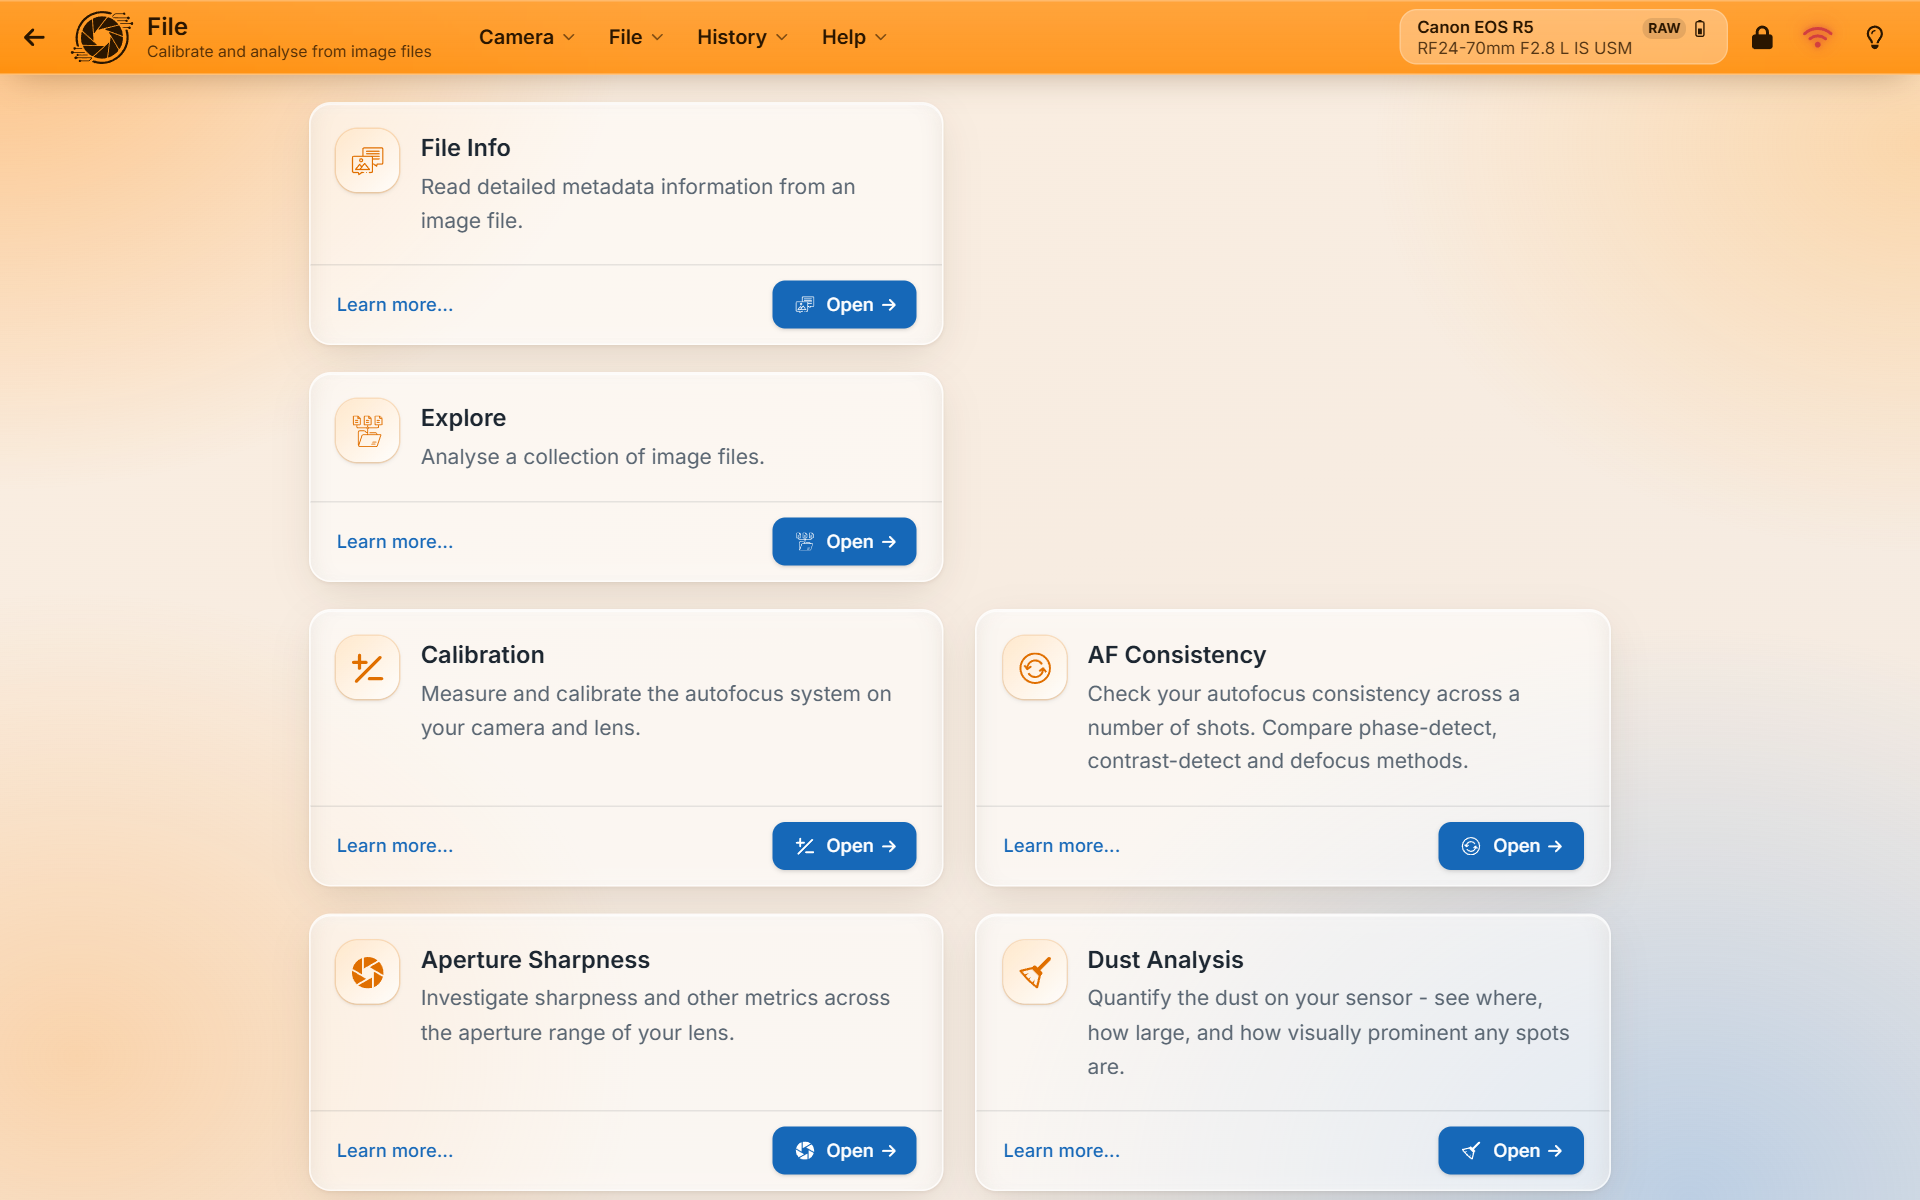
The tests (Focus Calibration, AF Consistency, Aperture Sharpness, Dust Analysis and File Explore) appear on the File menu once File Mode is enabled for this computer (see Licensing below). AF Consistency, Aperture Sharpness, Dust Analysis and File Explore need FoCal Pro.
Available Tests
File Mode Specific Tests
Tests that work in both camera and File Mode
Selecting Files
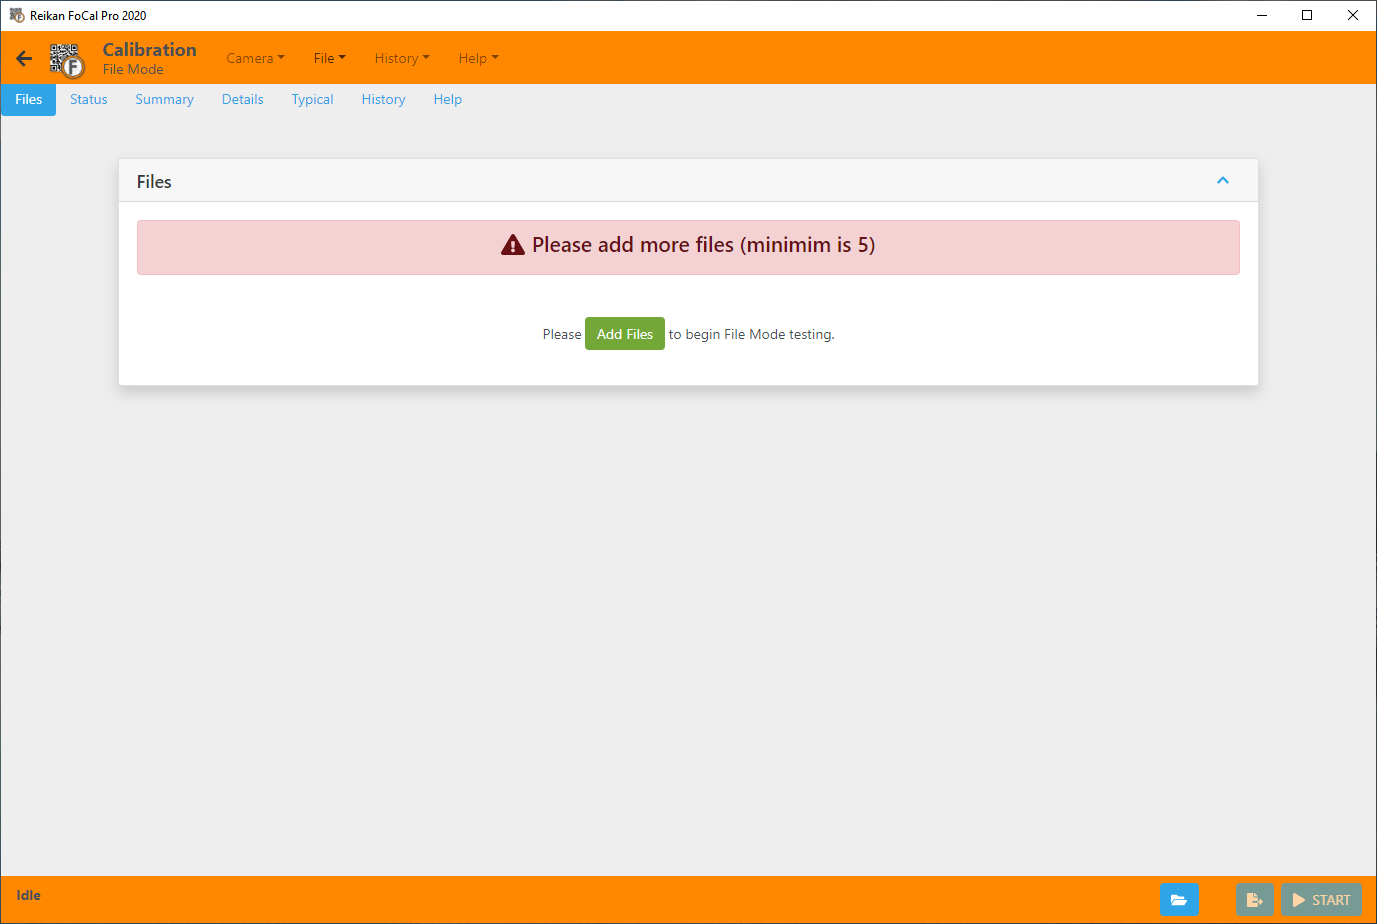
A test opened in File Mode starts on the Files tab, where you choose the files to use. For example, File › Focus Calibration shows this page:
Click Add Files and choose a set of files:
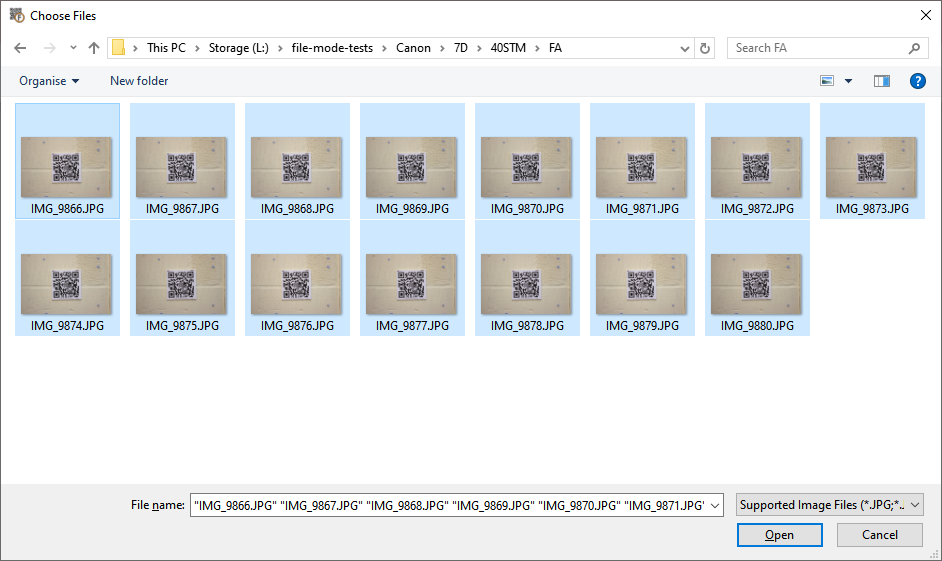
You can choose more files than you need: you pick the ones to analyse in the next step. Click Open, and the Files tab lists the files:
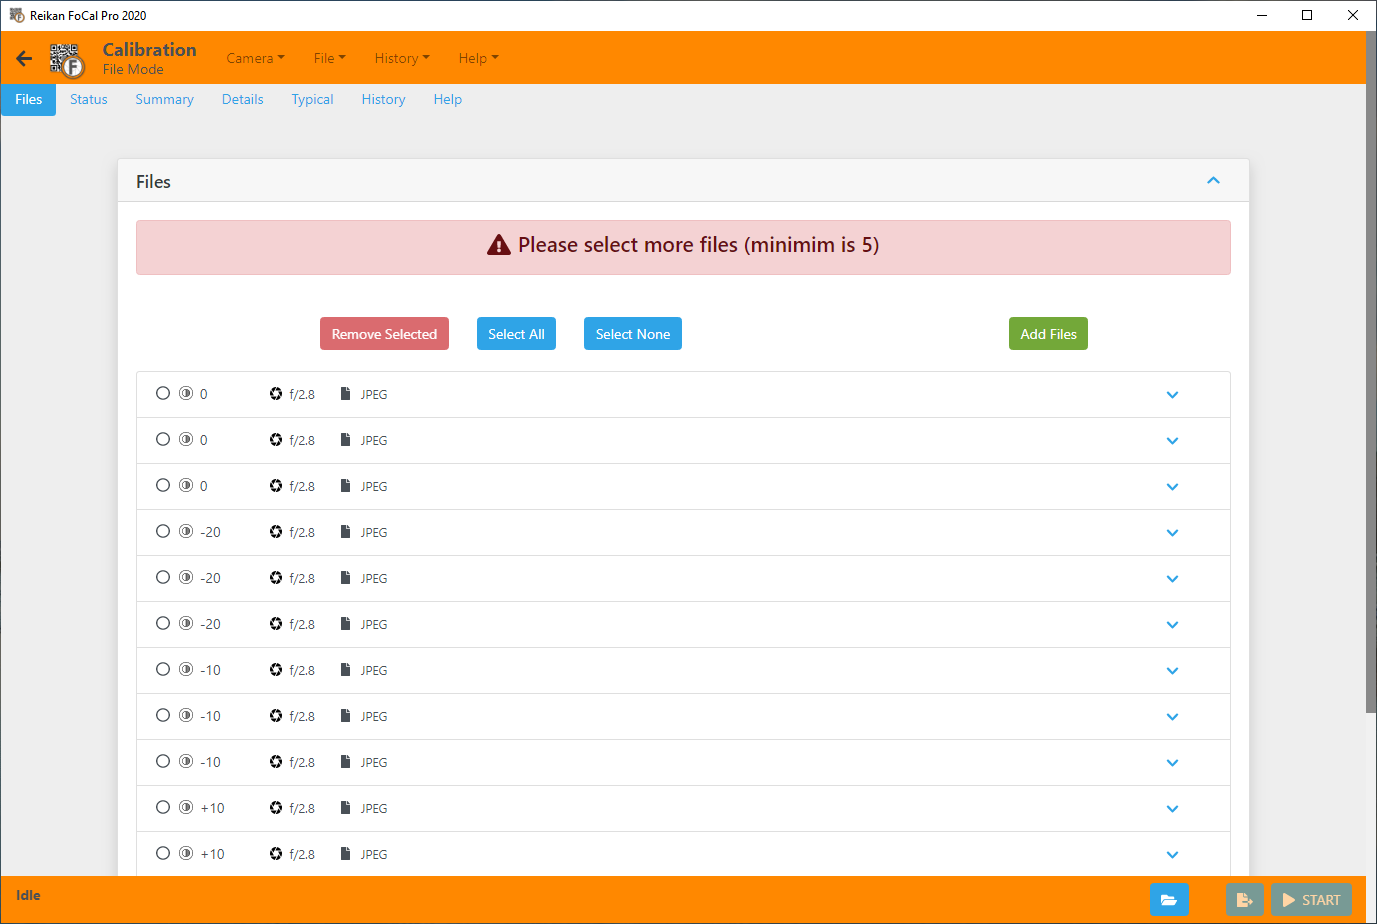
The message at the top says “Please select more files (minimum is 5)”: FoCal has read the files, but none are selected yet.
Click a file to select it:
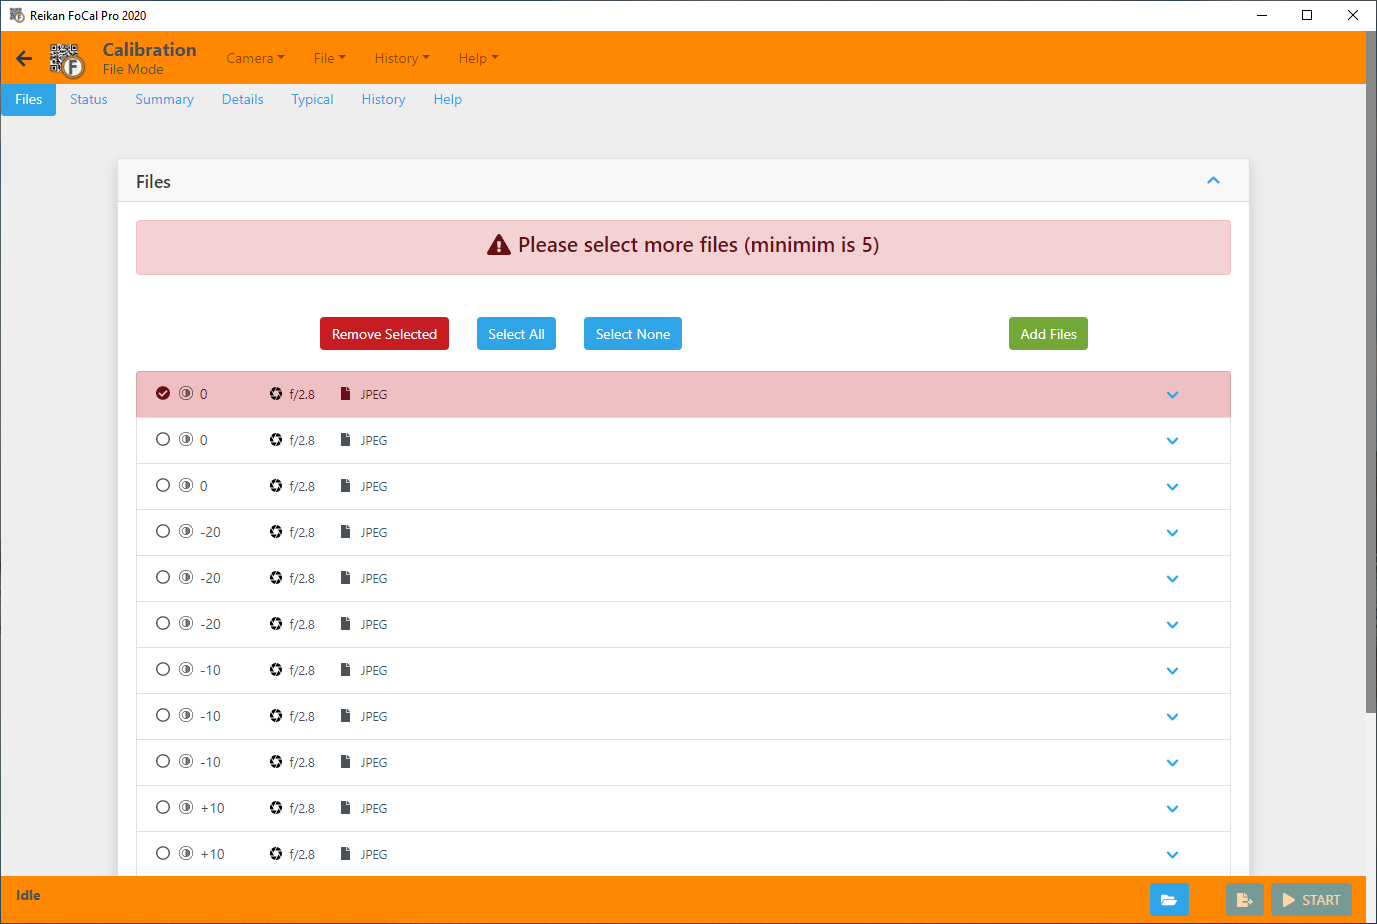
One file is selected. The selection is red because fewer than 5 files are selected. Here, the first 5 files are selected:
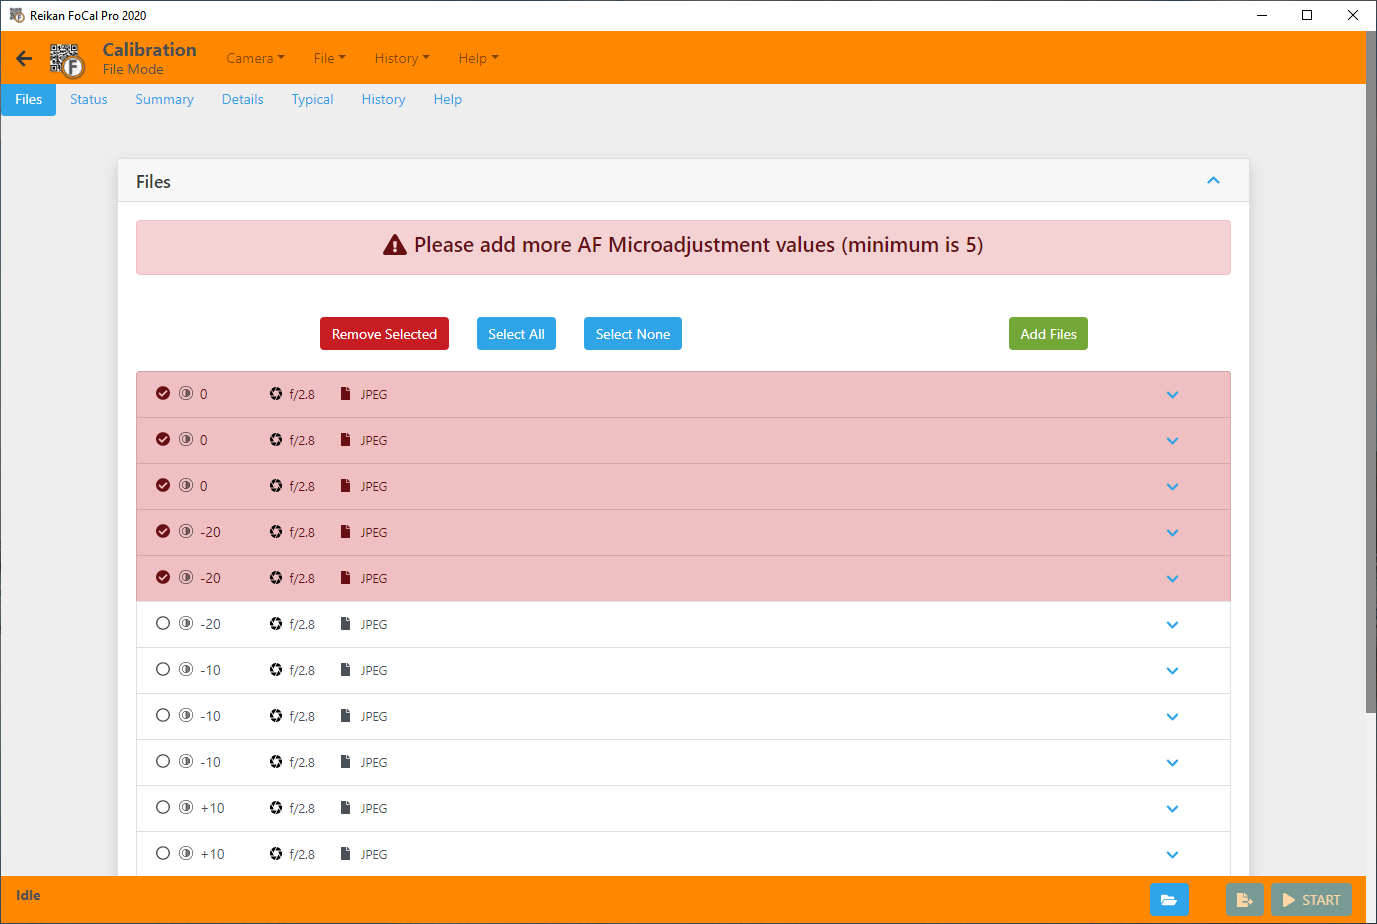
The message now says “Please add more AF Microadjustment values (minimum is 5)”: the test needs files taken at 5 or more different values.
Click Select All to select every file:
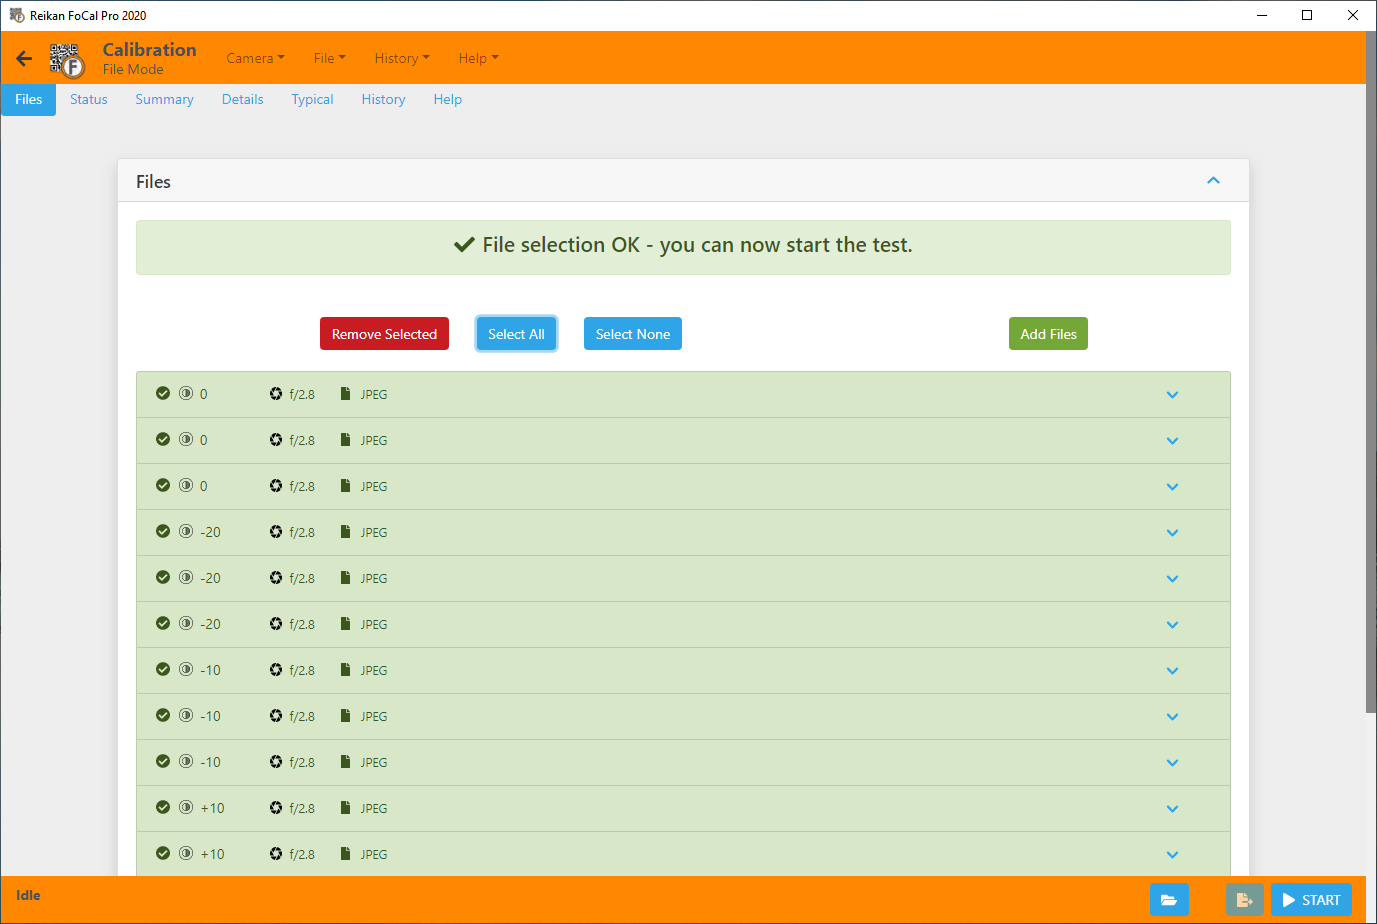
The selection turns green, the message says “File selection OK”, and Start is enabled.
Click Start to analyse the selected files.
File Information
The table shows basic information about each file. For more detail about a file, click the arrow at the right of its row:
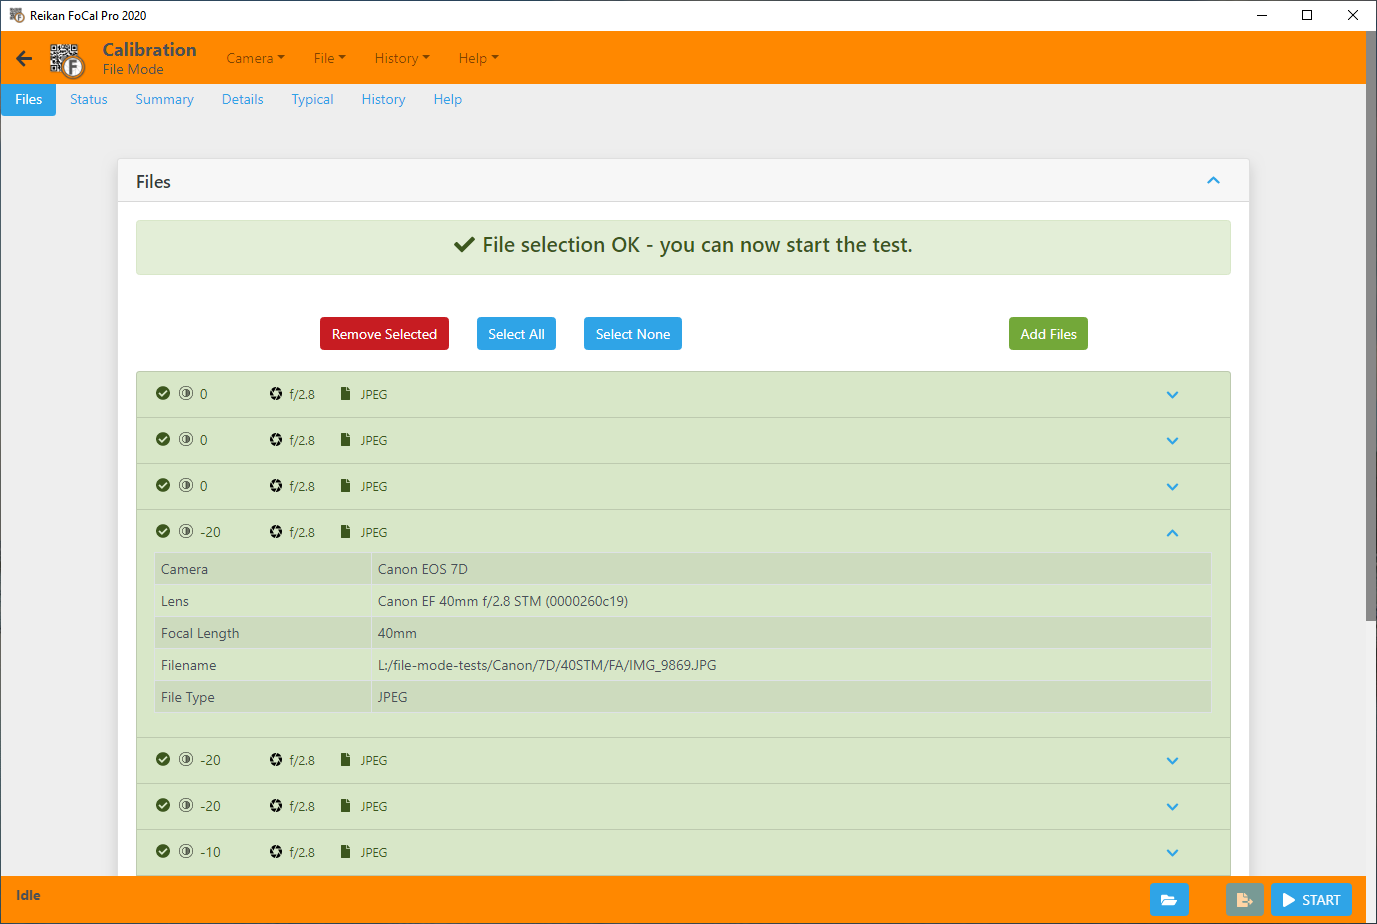
Licensing
File Mode isn't tied to camera serial numbers. Instead, your licence must include the System ID of the computer you're using. If it doesn't, the File page shows a File Mode License message: click Add File Mode to add this computer to your licence.
Capturing Images for File Mode analysis
In tethered mode, FoCal controls the camera and sets it up for the best results. When you take the images yourself for File Mode, set the camera up in the same way:
For All Tests
- Mount the camera on a sturdy tripod, as for tethered mode. Remove any battery grip.
- Use a remote release cable if you have one, so you don't move the camera between shots. The camera's smartphone app also works, if it has one.
- If the camera has mirror lock-up, turn it on.
- Normally, set +1 EV exposure compensation if your camera has it.
- For JPEG images, choose a neutral picture style (such as Faithful, Neutral or Standard).
- If your camera can, shoot Raw and JPEG together. You can then analyse both in FoCal and see how much processing the camera applies to the JPEGs.
For autofocus tests (Focus Calibration, AF Consistency)
- Use a single, centre focus point in single-shot focus mode (such as One Shot or AF-S).
- Before each shot, carefully defocus the lens towards infinity. This makes the camera run its full autofocus process.
Adding missing information
If your files don't record something FoCal needs, such as the aperture of a manual lens or the focus adjustment value, you can supply it in a metadata configuration file. See Metadata Configuration File.